 Save
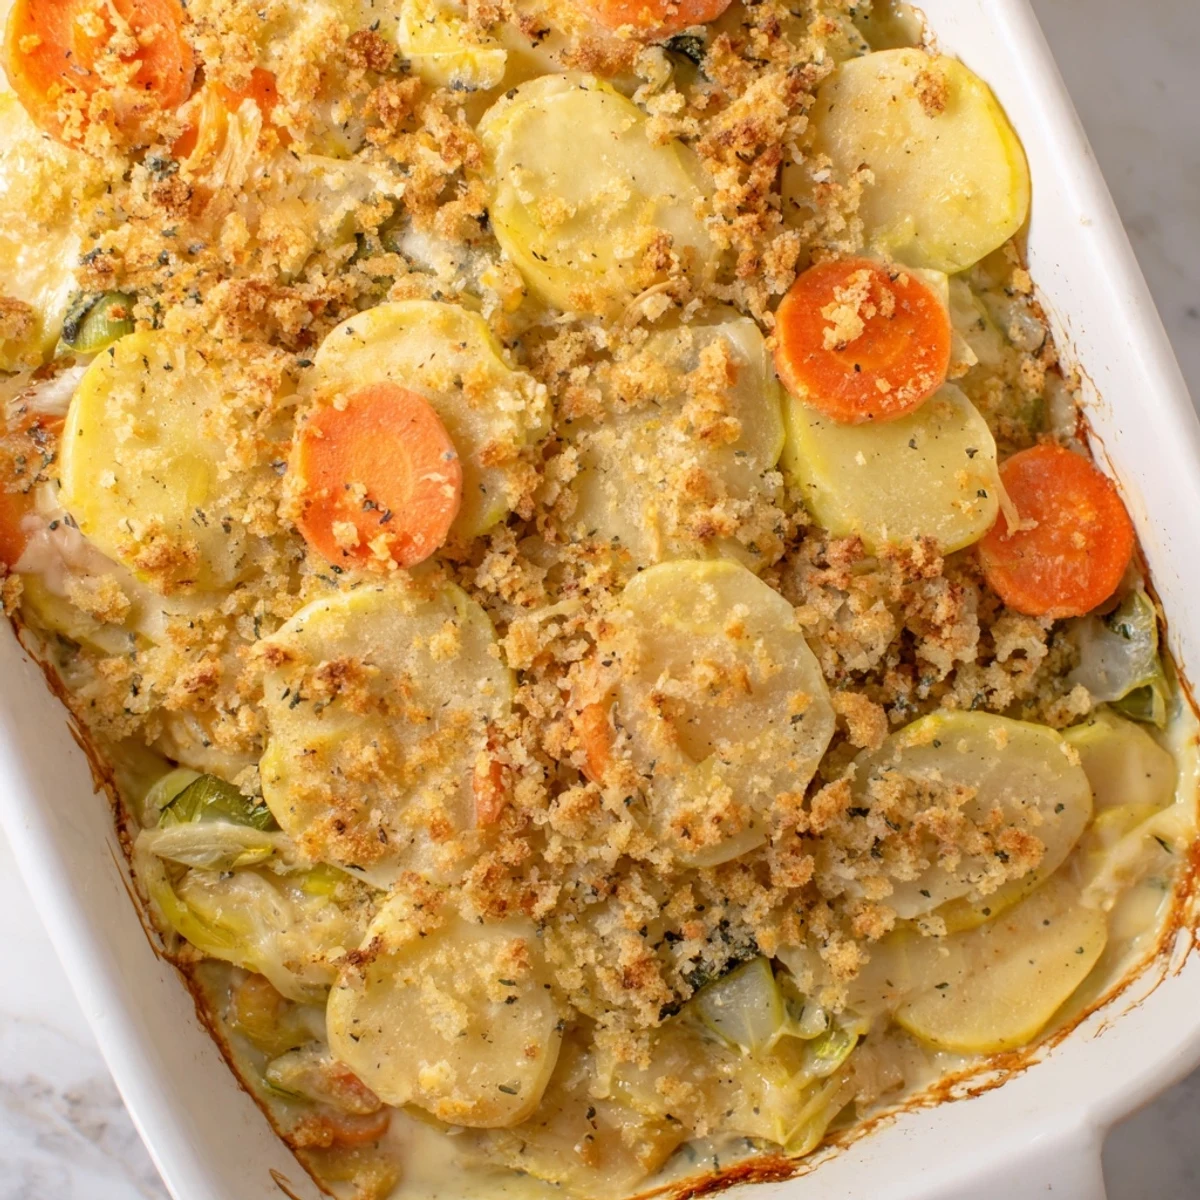
Save This winter vegetable gratin celebrates the flavors of seasonal root vegetables like potatoes, carrots, rutabaga, and parsnip layered in a rich, creamy sauce. The sauce combines butter, milk, Dijon mustard, nutmeg, and Gruyère and Parmesan cheeses to create a velvety texture. Half of the sauce and vegetables are layered, baked covered, then topped with a buttery Parmesan breadcrumb mixture. A final bake yields a golden crust and tender vegetables, making it a hearty and warming main dish perfect for cold months.
I remember the first time I pulled a bubbling winter vegetable gratin from the oven on a cold December evening. The aroma that escaped was pure comfort—nutmeg and melted cheese mingling with the earthy sweetness of roasted root vegetables. It's become my go-to dish whenever the season turns crisp and I want something that feels both elegant and deeply nourishing.
There's something magical about the moment when you pull back that foil and see the breadcrumb topping has turned golden brown. I'll never forget the first time I got it just right—my sister took one bite and said it was restaurant quality. From that moment on, I knew this was the recipe I'd make whenever I needed to impress.
Ingredients
- Yukon Gold potatoes: These waxy potatoes hold their shape beautifully during baking, unlike russets which tend to get mushy. I always use Yukon Gold because they have that natural buttery flavor that plays perfectly with the creamy sauce
- Carrots, rutabaga, parsnip, celery root, and leek: Winter's gift to us. Each one brings its own sweetness and character. The variety makes every bite interesting
- Unsalted butter and all-purpose flour: The foundation of your sauce. I always use unsalted so I can control the salt level
- Whole milk: Use the real thing here. The fat content matters for that silky, luxurious sauce
- Dijon mustard: Just a teaspoon but it's the secret whisper that makes people wonder what they're tasting
- Nutmeg: Freshly grated if you have it. It's the spice that ties everything together and makes this feel special
- Gruyère and Parmesan cheese: This combination is crucial. Gruyère brings depth, Parmesan brings sharpness. Together they're unstoppable
- Fresh breadcrumbs and fresh parsley: These are what make the topping irresistible. Stale breadcrumbs won't give you that golden, crispy texture
Instructions
- Get Everything Ready:
- Preheat your oven to 375°F and grease that 9x13-inch baking dish generously with butter. There's something reassuring about starting with a clean, prepared workspace. Get all your vegetables gathered and thinly sliced. If you have a mandoline, this is its moment to shine, but a sharp knife works beautifully too. The thinner your slices, the more evenly everything will cook
- Mix Your Vegetables:
- Toss all those gorgeous sliced vegetables together in a large bowl. Don't be precious about it—you're just making sure they're mingled together so they'll cook evenly
- Build Your Sauce:
- Melt the butter in a medium saucepan over medium heat. You'll feel it foam slightly as it melts. Whisk in the flour and cook for about a minute, stirring constantly. This is your roux, and it should smell a bit nutty. Gradually pour in the milk while whisking like your life depends on it. You want to avoid lumps, so go slowly. Keep stirring until the sauce thickens, about 3 to 5 minutes. You'll feel it change under your whisk—it'll go from thin and pourable to silky and luxurious. Remove from heat and stir in the mustard, freshly grated nutmeg, salt, pepper, and both cheeses until everything melts together into a smooth, creamy sauce
- Layer It Up:
- Pour half the sauce into your prepared baking dish, spreading it evenly across the bottom. Now layer half your vegetables on top, spreading them out so they're in contact with the sauce. Pour the remaining sauce over the vegetables and top with the rest of your vegetable slices. This layering is important because it ensures the sauce gets worked through everything
- The First Bake:
- Cover the dish tightly with foil and slide it into the oven for 35 minutes. The foil traps the steam and helps cook the vegetables through without the top drying out
- Make the Topping Magic:
- While that's going, toss together the breadcrumbs, melted butter, Parmesan, and fresh parsley in a small bowl. The butter is what makes these breadcrumbs golden instead of pale. Toss it all together until the breadcrumbs are evenly coated
- The Golden Finish:
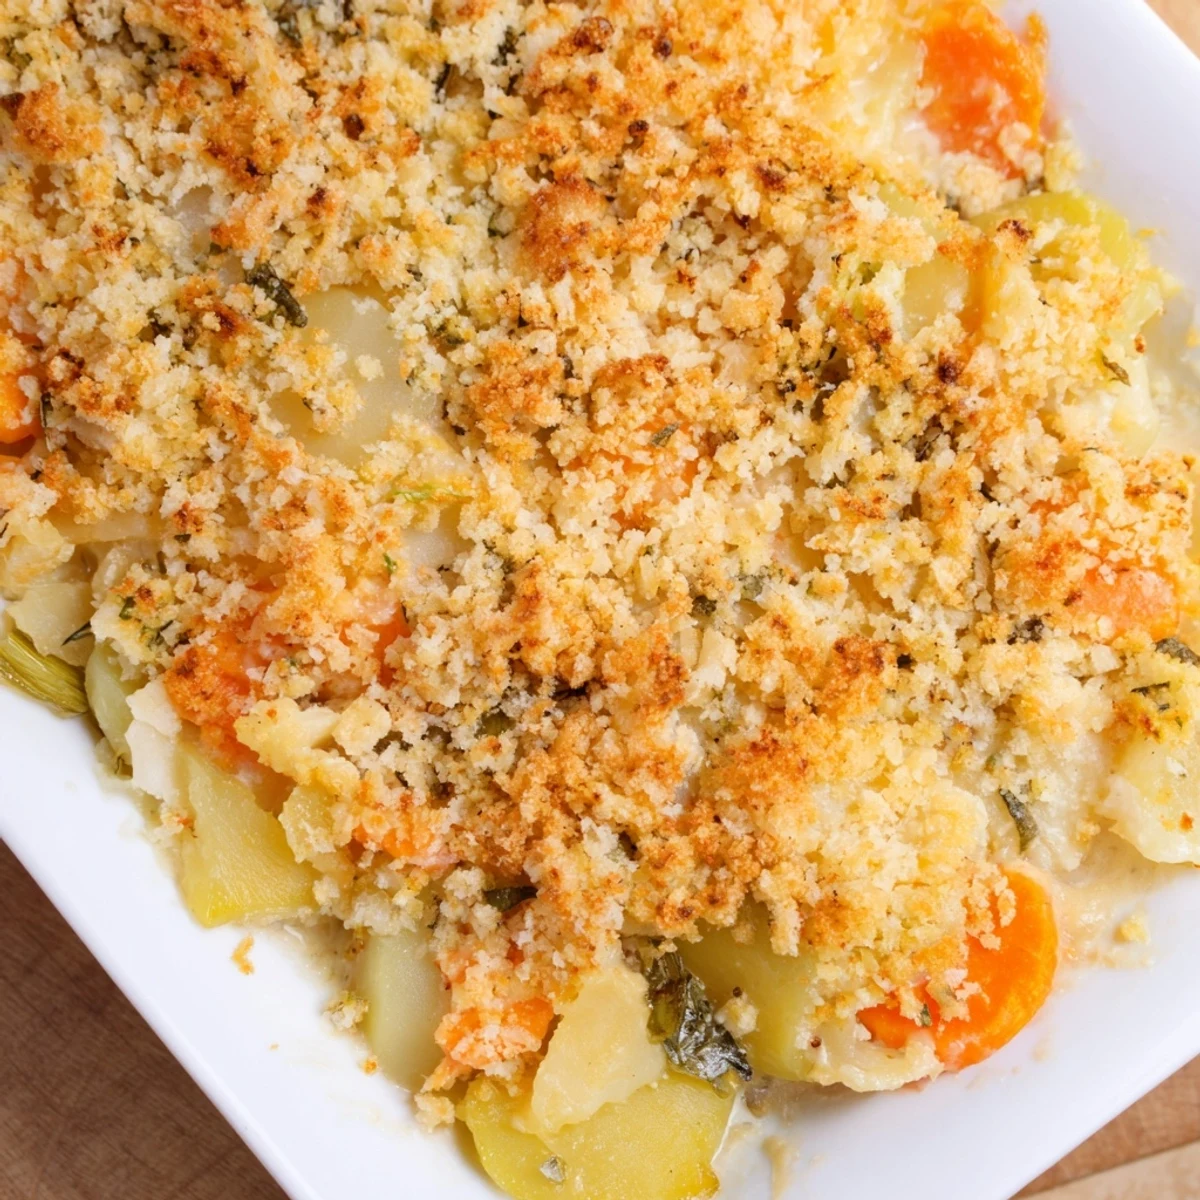
- After 35 minutes, carefully remove the foil from the gratin. You'll see the vegetables have softened and the sauce is bubbling around the edges. Sprinkle that breadcrumb mixture evenly over the top and slide it back in the oven, uncovered, for another 15 minutes. This is when it gets really good. The topping will turn golden brown and crispy while the vegetables finish getting tender. You'll know it's done when the topping is deep golden and the vegetable filling is visibly bubbling at the edges
- Let It Rest:
- Pull it from the oven and let it rest for 10 minutes. I know it's tempting to dive right in, but this resting period lets everything settle so you get neat, pretty slices instead of a runny mess
 Save
Save This dish became my winter signature after my family started requesting it for every holiday gathering. There's something about coming together around a warm, cheesy gratin that feels like home, like comfort, like love in a baking dish.
When You're Missing Something
Don't have celery root? Use more rutabaga or add some fennel instead. Celery root is lovely but not essential. The beauty of this dish is its flexibility with whatever root vegetables you find at the farmers market. Sweet potatoes work beautifully too if you're in a mood to shake things up. The core of the recipe—the creamy, cheesy sauce and the vegetable layers—stays the same and keeps everything cohesive. I've made successful versions with completely different vegetables depending on what looked best that day.
Serving Ideas That Clicked
Serve this as a main course with a simple green salad dressed with a bright vinaigrette to cut through the richness. It pairs beautifully with crusty bread for soaking up every last bit of that sauce. If you're making it as a side dish alongside roasted chicken or fish, the portions are generous enough that everyone will feel satisfied. The gratin actually tastes better the next day, which makes it perfect for planning ahead. Leftovers reheat beautifully in a 350°F oven covered with foil for about 20 minutes.
Making It Ahead for the Freezer
You can assemble the entire gratin up to the point of baking, cover it tightly with plastic wrap and foil, and freeze for up to three months. When you're ready to cook, don't thaw it. Just add about 20 minutes to the baking time. It's like a gift from your past self on a night when you need dinner to be easy. I also sometimes bake it fully, cool it completely, wrap it up, and freeze it. Then I just reheat it in a 325°F oven until it's warmed through.
- If freezing unbaked, make sure everything is very cold before wrapping so condensation doesn't form
- Label your frozen gratin with the date so you know when you made it
- The vegetables will lose a bit of their texture when frozen and reheated, but the flavor stays spectacular
 Save
Save This winter vegetable gratin has become the dish I make when I want people to leave my table feeling cared for and satisfied. Make it soon.
Recipe FAQ
- → Can I substitute other vegetables in this gratin?
-
Yes, sweet potatoes or turnips can replace the root vegetables for a different flavor while maintaining texture.
- → What cheese types are used in the creamy sauce?
-
Gruyère and Parmesan cheeses are grated into the sauce to add a rich and nutty depth.
- → How do I achieve a crispy topping?
-
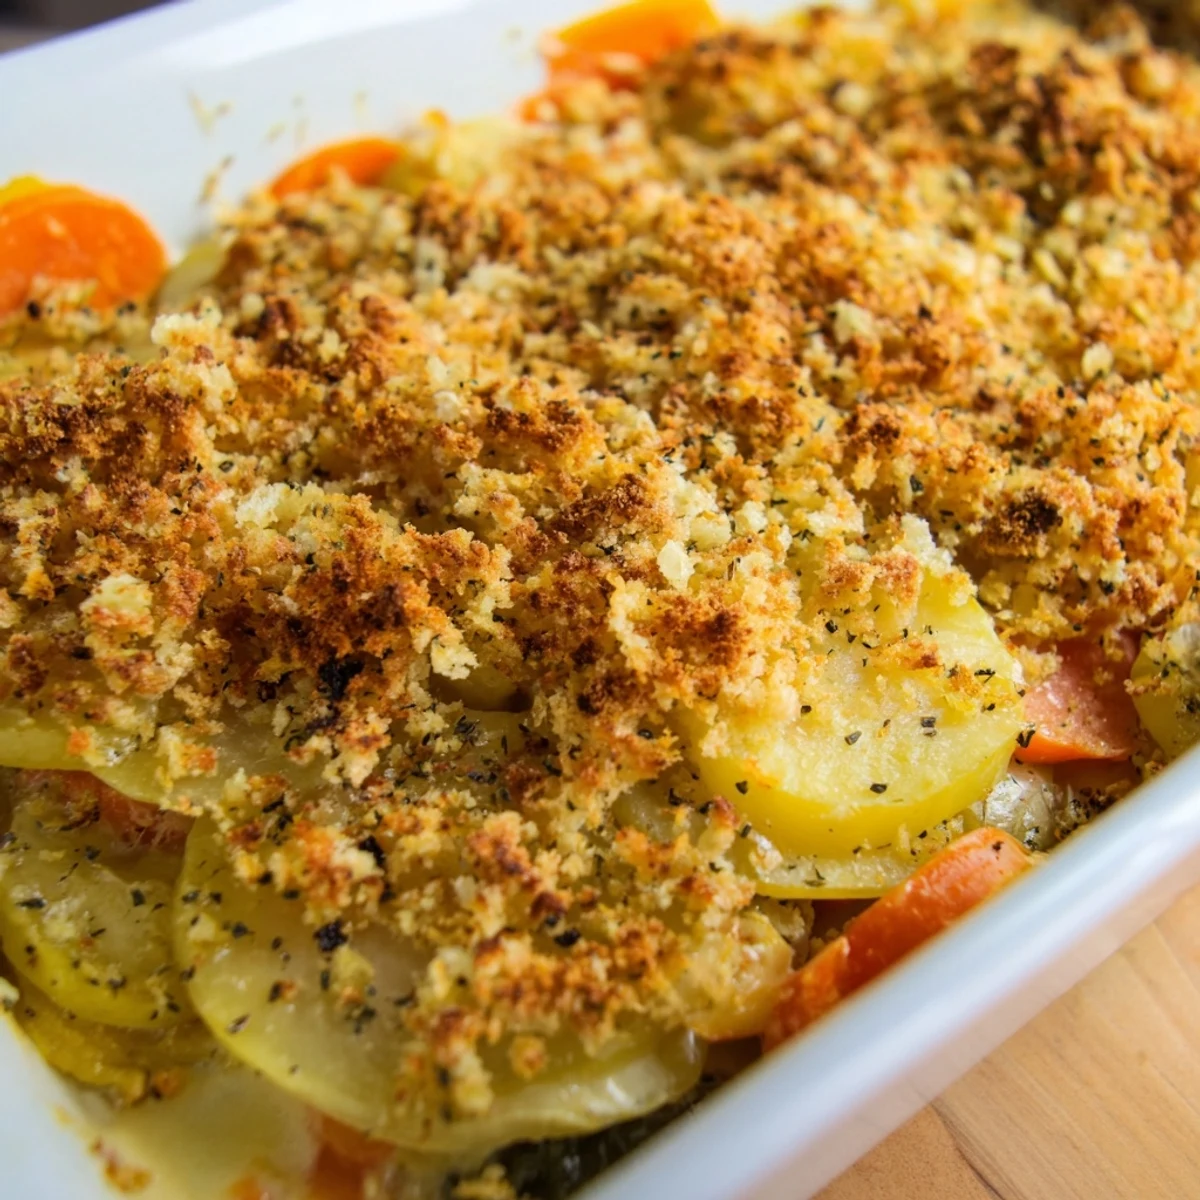
Mix fresh breadcrumbs with melted butter, Parmesan, and parsley, then bake uncovered for the last 15 minutes to get a golden crust.
- → Is it important to cover the dish during baking?
-
Yes, covering the dish initially helps cook the vegetables evenly and keeps moisture before the topping is added.
- → How long should the dish rest before serving?
-
Allow the gratin to rest for 10 minutes post-baking to let flavors set and make slicing easier.