 Save
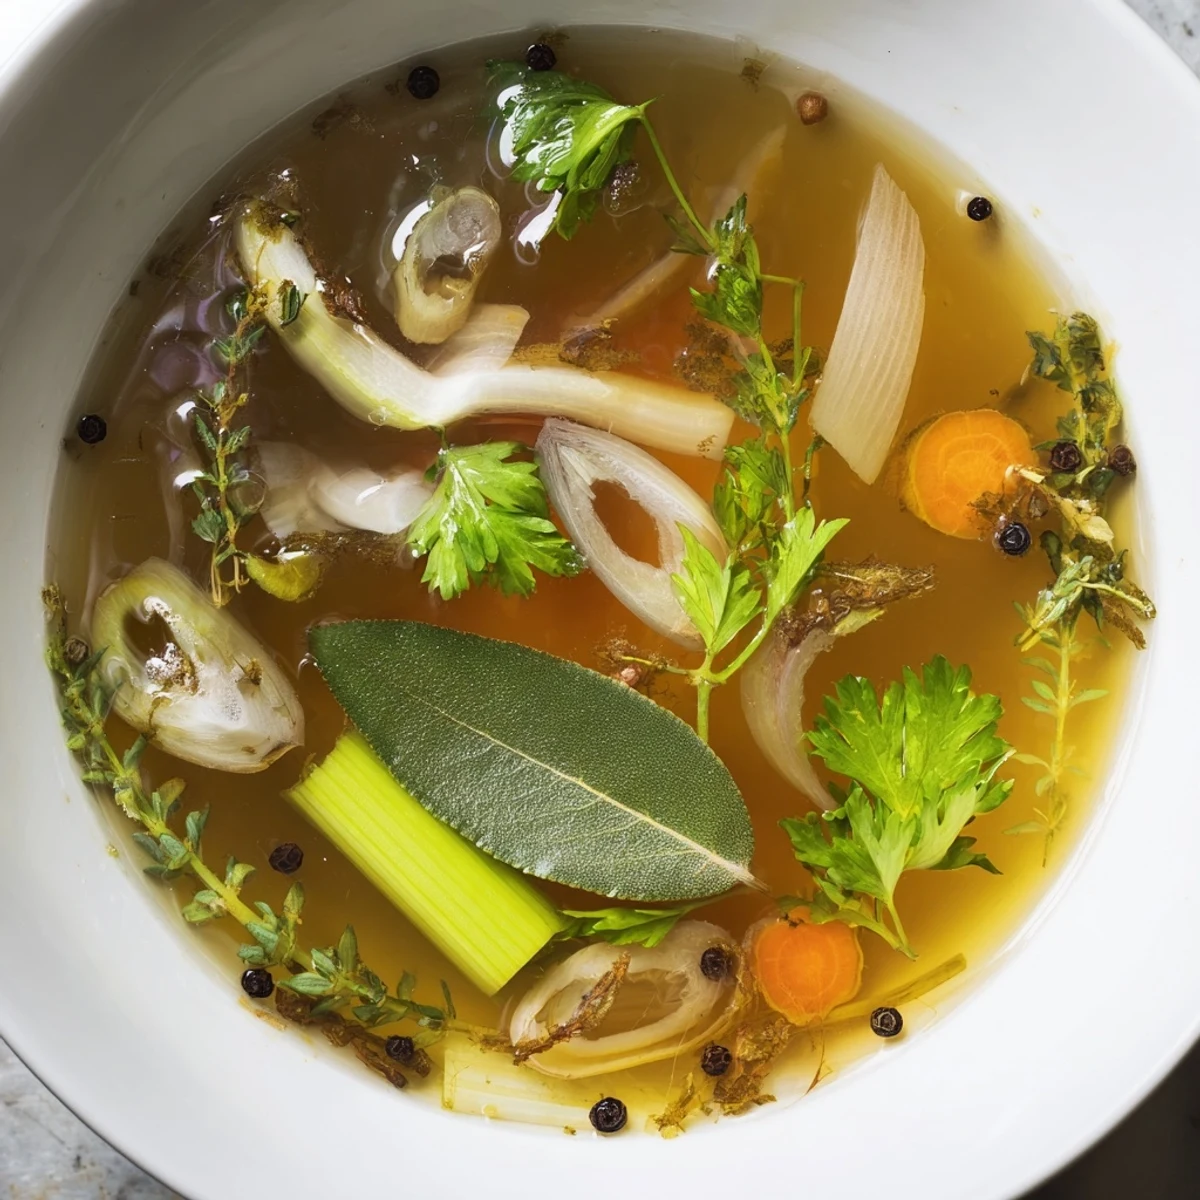
Save This flavorful broth combines assorted vegetable scraps and fresh herbs simmered gently for one hour, creating a versatile liquid base. It’s easy to prepare with simple kitchen ingredients and offers a rich, natural taste that enhances soups, risottos, and sauces. Skimming and straining ensure a clear, aromatic broth. Optional roasting adds depth, while adjustments like vinegar brighten the final result. Store refrigerated or frozen for convenience.
There's something quietly satisfying about turning kitchen scraps into liquid gold. One afternoon, while prepping vegetables for dinner, I found myself staring at a pile of onion skins, carrot ends, and celery leaves destined for the compost, and thought: why waste the flavor already in my hands? That simple question led me to this broth, which has become the quiet foundation of nearly every soup and risotto that followed. It's humble work, but it teaches you to listen to what your kitchen is telling you.
I remember the first time I served a soup made from this broth to a friend who'd been skeptical about my "kitchen scrap" enthusiasm. She took a spoonful and paused, then asked what fancy stock I'd used. I told her the truth, and something shifted in how she looked at cooking from that moment forward.
Ingredients
- Vegetable scraps: Onion peels, carrot ends, celery leaves, leek greens, and mushroom stems are your best friends here—they carry real flavor without the bitterness of raw vegetables.
- Fresh vegetables: One onion, two carrots, and two celery stalks round things out if your scrap collection feels thin.
- Bay leaves: Two leaves, kept whole so they're easy to fish out and don't cloud your broth with tiny particles.
- Fresh herbs: Five sprigs of parsley and three of thyme (or a teaspoon of dried) give the broth its soul—dried herbs work fine if fresh aren't on hand.
- Black peppercorns: A teaspoon of whole peppercorns, not ground, so they add flavor without grit.
- Garlic: Two cloves, smashed to release their essence without falling apart into the broth.
- Salt: One teaspoon to start, but taste as you go—you're building layers, not seasoning for the table.
- Apple cider vinegar or lemon juice: Optional, but a teaspoon at the end brightens everything like a secret was just whispered into the pot.
- Cold water: Two and a half liters, which sounds like a lot until you realize it's what turns humble scraps into something magical.
Instructions
- Gather and add:
- Pile all your vegetable scraps, any fresh vegetables, and herbs into a large stockpot. There's something meditative about this step—seeing everything that made it this far before finding new purpose.
- Pour and combine:
- Add cold water and give everything a gentle stir, letting the flavors start to mingle. Cold water draws out flavors more gently than hot, teaching the pot patience from the start.
- Bring to life:
- Turn the heat to high and let it come to a rolling boil. Watch as the water transforms from clear to pale gold—that's the beginning of flavor.
- Skim the surface:
- Once boiling, you'll see foam rise to the top in the first 10 minutes. Skim this off with a spoon; it's impurities releasing, and removing them keeps your broth clear and clean-tasting.
- Settle into a simmer:
- Lower the heat so the broth barely bubbles—just a gentle rolling that keeps time. An hour of this slow attention is where the magic deepens.
- Strain with intention:
- Pour everything through a fine-mesh sieve or cheesecloth into a waiting bowl, letting gravity do the work. Listen to that quiet sound of liquid passing through; you've earned it.
- Taste and adjust:
- Cool it slightly, then taste. Salt, acid, and time have already done most of the work, but this moment is yours to own.
 Save
Save I've learned that the best meals often start in the smallest moments—a decision to save something instead of discarding it, an extra five minutes of attention at the stove. This broth has become that moment for me, the foundation that reminds me that thoughtfulness in the kitchen doesn't require perfection or expense.
Storing Your Broth
Once cooled, this broth lives happily in the refrigerator for up to five days, where it'll often gel slightly as it chills—that's gelatin from the vegetables, a sign you did something right. For longer storage, freeze it in ice cube trays, then transfer the frozen cubes to bags; they thaw in minutes and become instant flavor for any pot.
Ways to Use It
This broth is the confident base for soups, risottos, and sauces that taste like you've been cooking all day. Use it wherever water would go in a recipe, and watch how it lifts everything it touches. One cup of this broth in place of water in rice, grains, or even a simple sauce shifts the entire conversation.
Kitchen Wisdom Earned
Making broth from scraps is an act of attention, a way of honoring what you buy and use. Over time, you'll develop instincts for which scraps are worth saving and which aren't, and your broth will evolve with the seasons and what your kitchen receives.
- Save scraps in a bag in the freezer year-round, then make a big batch when you've gathered enough.
- A teaspoon of apple cider vinegar at the end brightens flavors that might feel flat, especially in winter batches.
- If your broth tastes weak, simmer it uncovered for an extra 30 minutes to concentrate the flavors further.
 Save
Save There's no shame in cooking simply, in letting a stockpot do the thinking while you move through your day. This broth whispers rather than shouts, but it's exactly what your best meals are listening for.
Recipe FAQ
- → What vegetable scraps work best for this broth?
-
Use mild scraps like onion peels, carrot ends, celery leaves, mushroom stems, and parsley. Avoid strong-flavored scraps such as cabbage or beet peels unless you prefer intense flavors.
- → How long should the broth simmer?
-
Simmer gently for about one hour, occasionally stirring and skimming foam for a clear and richly flavored broth.
- → Can I roast the vegetables before simmering?
-
Yes, roasting scraps and vegetables at 200°C (400°F) for 20 minutes enriches the broth with deeper, caramelized flavors.
- → How should I store the broth after preparing it?
-
Cool the broth and store it in the refrigerator for up to five days or freeze in portions for up to three months.
- → What herbs enhance the broth’s flavor?
-
Bay leaves, fresh parsley, and thyme add fragrant, earthy notes while black peppercorns and garlic bring subtle spice.
- → Is it necessary to strain the broth?
-
Straining through a fine-mesh sieve or cheesecloth removes solids, resulting in a clear, smooth broth ideal for various culinary uses.