 Save
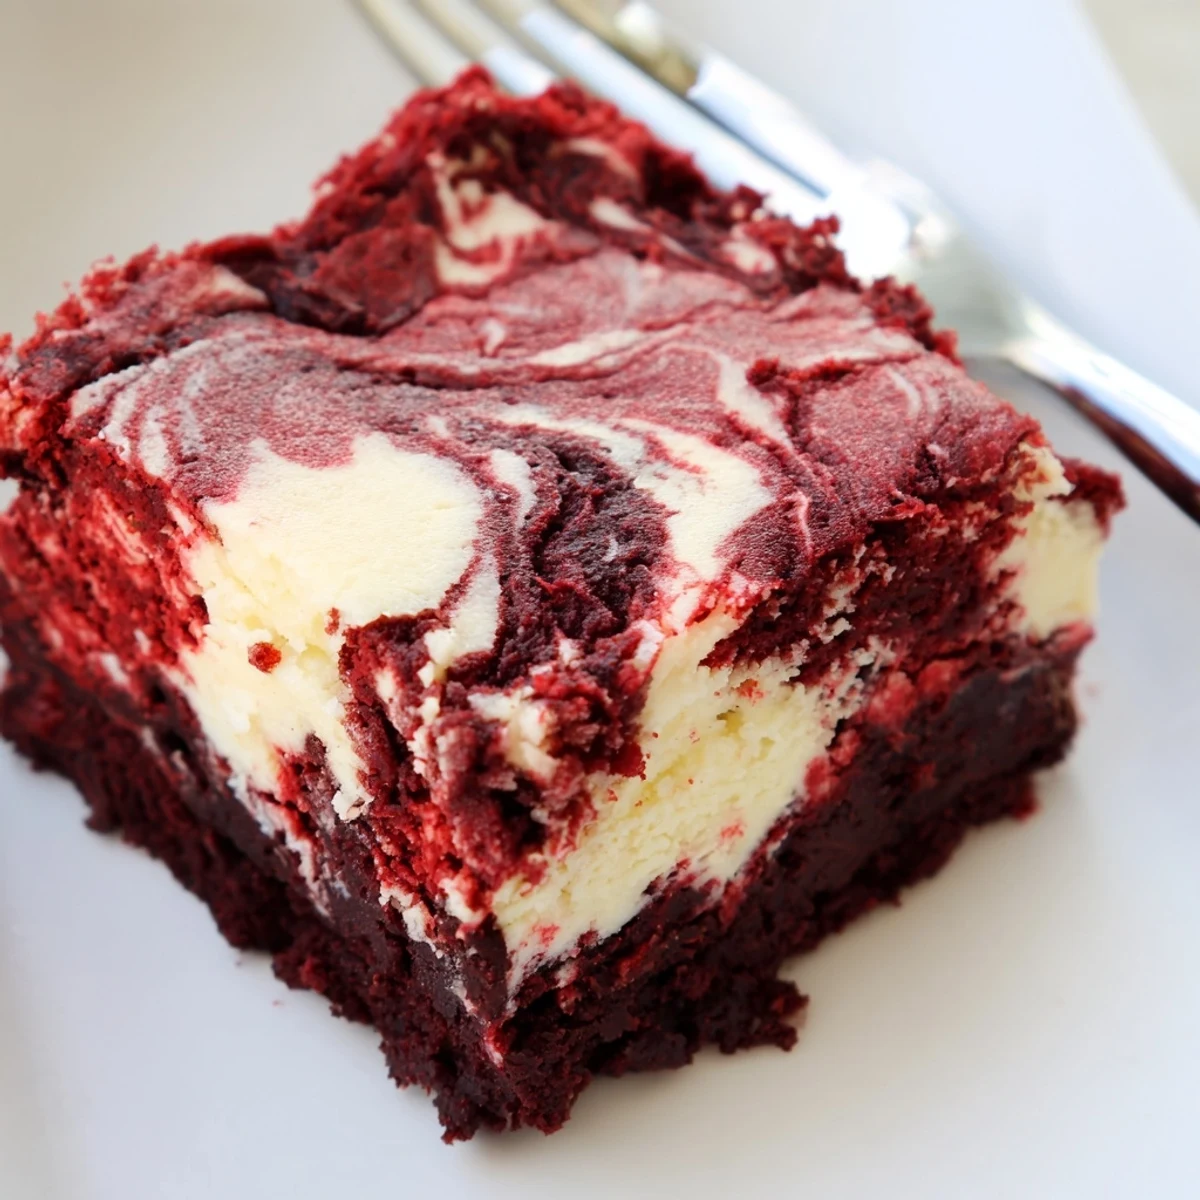
Save These stunning marbled treats combine the rich cocoa notes of red velvet with the tangy creaminess of cheesecake. The swirl technique creates beautiful patterns while ensuring each bite delivers both fudgy chocolate and smooth vanilla flavors. Perfect for gatherings or an indulgent afternoon treat.
The first time I made these, my kitchen timer went dead and I accidentally baked them five minutes too long. Ironically, that slight overbake created the perfect contrast between the dense fudgy velvet layer and the still-creamy cheesecake swirl on top. Now I deliberately watch them like a hawk until that moment when the center wobbles just so.
My sister requested these for her birthday instead of a traditional cake, and watching peoples faces at the party when I cut into the pan revealed those gorgeous swirls was honestly better than any present. They disappeared faster than any dessert Ive ever made, and three people immediately asked for the recipe before they even finished their first bite.
Ingredients
- Unsalted butter, melted: I always melt it in the microwave in short bursts to prevent separating, and using room temperature eggs helps them incorporate better into the warm butter.
- Granulated sugar: This creates that signature crackly top on the brownie layer, so dont be tempted to reduce it or substitute with brown sugar.
- Large eggs: Room temperature eggs blend more smoothly into the batter, preventing those tiny speckled egg white spots you sometimes see in baked goods.
- Vanilla extract: Pure vanilla makes a noticeable difference here since the flavor profile is relatively simple and the vanilla shines against the cocoa.
- Red food coloring: Gel coloring works beautifully and adds less moisture than liquid, but traditional liquid coloring absolutely works if thats what you have.
- All-purpose flour: Spoon and level your flour rather than scooping directly, as too much flour will make these cakey instead of fudgy.
- Unsweetened cocoa powder: Dutch-processed cocoa gives a deeper, darker color and mellower chocolate flavor that pairs perfectly with the tangy cheesecake layer.
- Salt: A small amount of salt makes all the flavors pop and balances the sweetness, so dont skip it even if it seems negligible.
- Cream cheese, softened: Leave it out for at least two hours, because cold cream cheese will create lumps that are nearly impossible to fully smooth out.
- Additional granulated sugar: The cheesecake layer needs its own sugar to balance the tanginess, or it will taste strangely sour against the sweet brownie base.
Instructions
- Prep your pan and oven:
- Parchment paper overhang is your best friend here, giving you handles to lift the entire slab out cleanly without damaging those gorgeous swirls you just created.
- Make the red velvet batter:
- Whisking the butter and sugar first dissolves most of the sugar crystals, which helps create that signature shiny, crackly top on the brownie portion.
- Add the dry ingredients:
- Folding instead of mixing keeps the texture tender and prevents developing too much gluten, which would make these tough instead of meltingly soft.
- Reserve some batter:
- This step feels fussy, but those dollops of red velvet on top are what creates the dramatic marbled effect that makes these so showstopping.
- Prepare the cheesecake layer:
- Beat the cream cheese thoroughly first to eliminate any lumps, then add the sugar, and finally the egg and vanilla for the smoothest possible texture.
- Layer and swirl:
- Run your knife through the batters in a figure-eight or circular pattern, but resist the urge to over-swirl or youll lose that dramatic contrast between the layers.
- Bake to perfection:
- The center should still wobble slightly like gelatin when you gently shake the pan, as it will continue cooking and firming up during cooling.
- Cool completely:
- This patience test is brutal but essential, as the cheesecake layer needs time to set fully or youll end up with a beautiful but messy situation when cutting.
 Save
Save Last Christmas Eve, I brought these to a cookie exchange and they were the first dessert gone, with the hostess actually wrapping up the last few to hide for herself before anyone else could grab them. Thats when I knew this recipe wasnt just good, it was genuinely special.
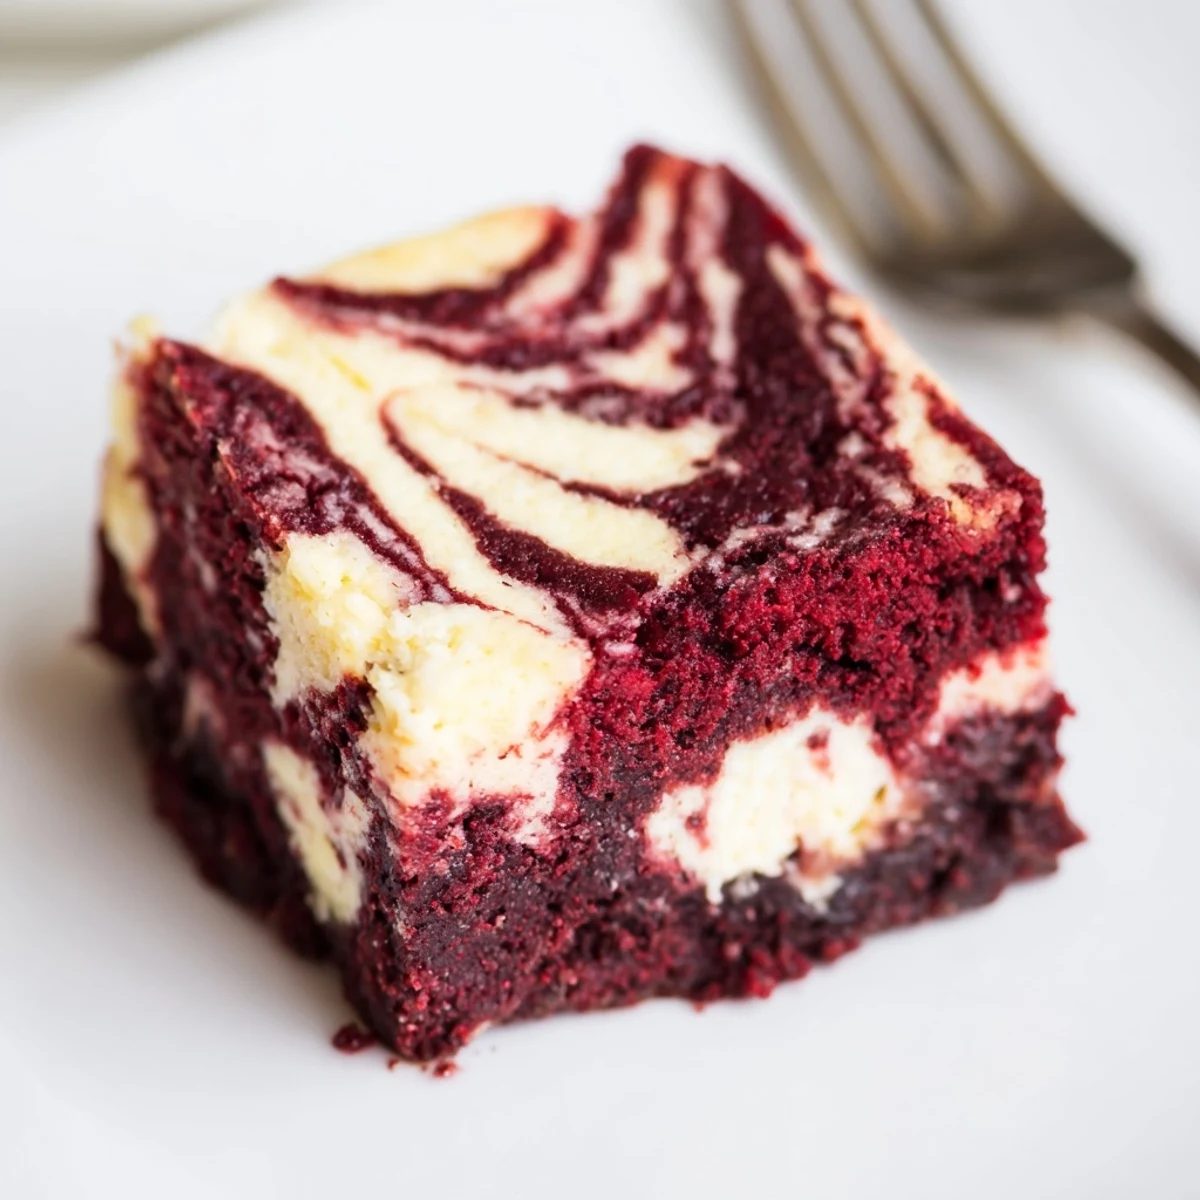
Getting The Perfect Swirl
Ive found that dropping the reserved batter in five distinct dollops across the top creates the most visually striking pattern. Use a butter knife or skewer and drag through the batters in one continuous motion rather than stopping and starting, which gives you that fluid, marbleized appearance instead of a messy, over-mixed look.
Pan Size Matters
An 8x8 inch pan is essential for the correct thickness and baking time. If you use a 9x9 inch pan, these will turn out thinner and bake faster, while a smaller pan will make them too thick and potentially underbaked in the center while the edges dry out.
Storage and Serving Tips
These actually improve after a night in the refrigerator, as the flavors meld and the texture becomes more fudgy and dense. I prefer serving them slightly chilled because the cheesecake layer becomes more distinct against the brownie base, though room temperature makes them feel more decadently soft.
- Use a sharp knife wiped clean between cuts for the cleanest, most professional-looking squares.
- Let them sit at room temperature for about 15 minutes before serving if youve refrigerated them.
- These freeze beautifully wrapped individually in plastic wrap for up to two months.
 Save
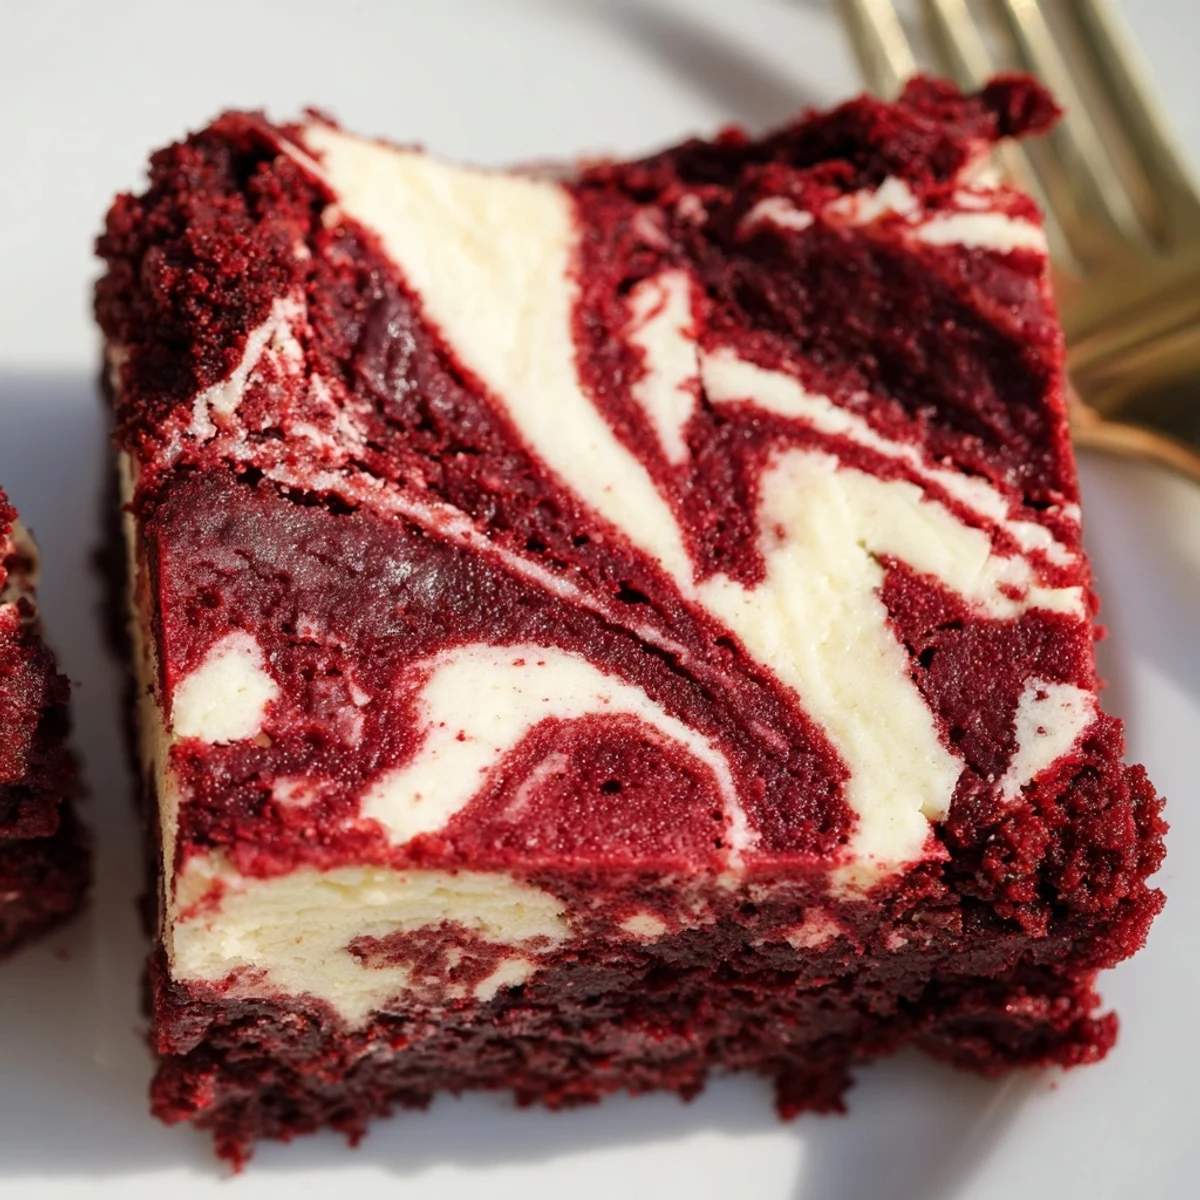
Save There is something deeply satisfying about cutting into these and seeing that pattern, knowing it looks like something from a bakery but came from your own kitchen. That moment of pride makes every step worth it.
Recipe FAQ
- → How do I achieve the perfect swirl pattern?
-
Use a knife or skewer to gently drag through the batters in circular or figure-eight motions. Don't over-swirl or you'll lose the distinct marbled effect.
- → Can I make these ahead of time?
-
Yes, these actually taste better after chilling overnight. Store in an airtight container in the refrigerator for up to 5 days.
- → Why did my brownies sink in the middle?
-
This usually happens from underbaking. The center should be just set when you remove them from the oven, with only slight jiggle remaining.
- → Can I freeze these brownies?
-
Absolutely. Wrap individual squares tightly in plastic and freeze for up to 3 months. Thaw overnight in the refrigerator.
- → What's the best way to cut clean squares?
-
Chill completely before cutting. Use a sharp knife warmed under hot water, wiping clean between each slice for perfect edges.