 Save
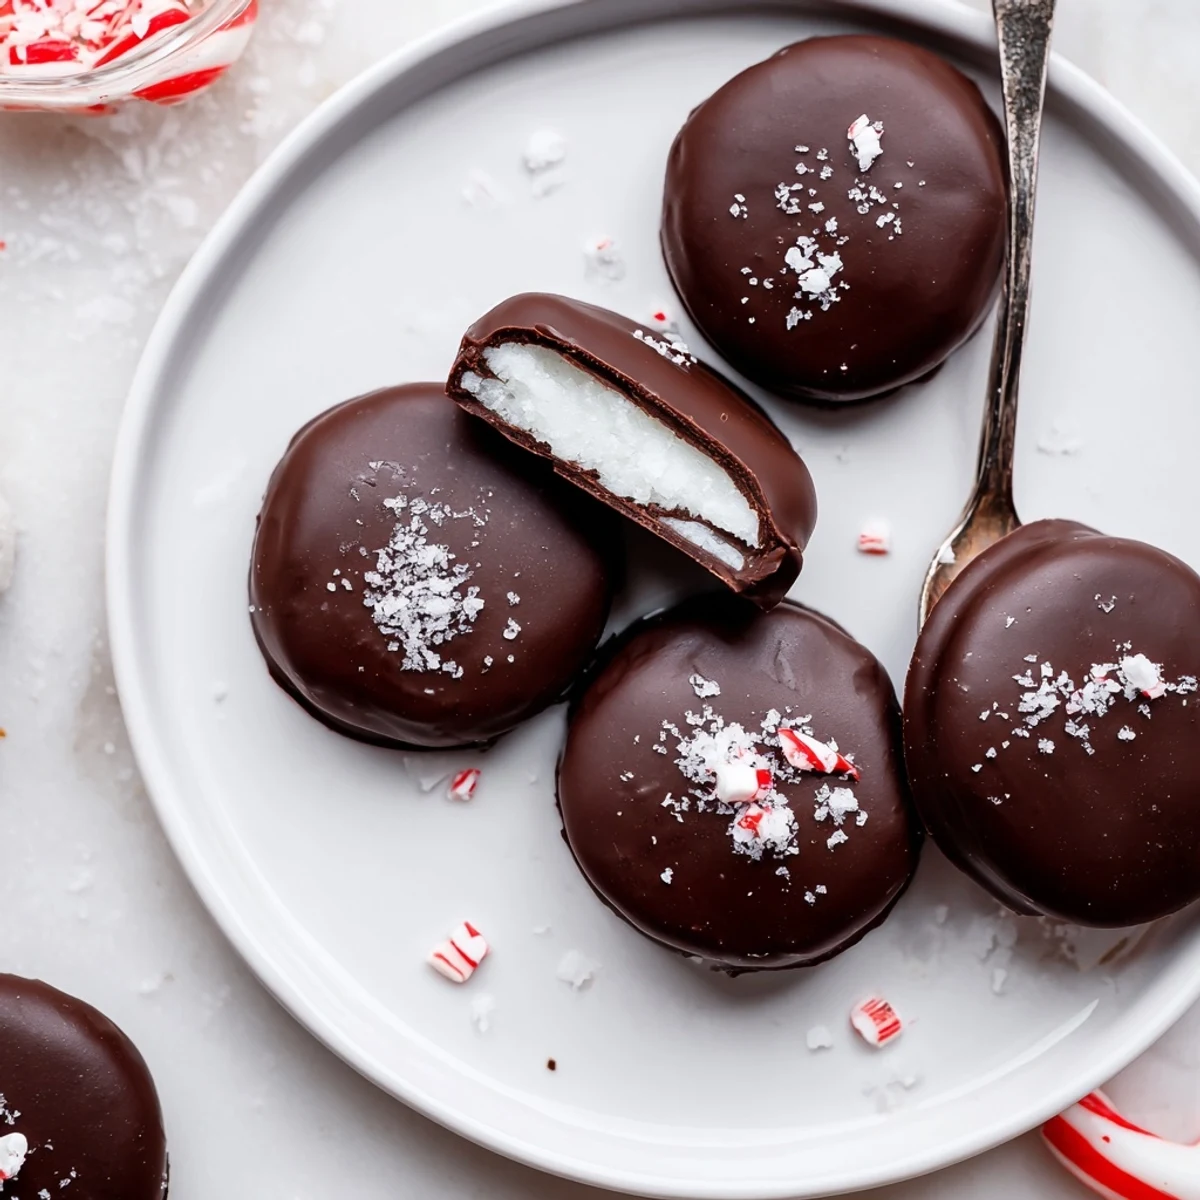
Save Easy-to-handle peppermint filling combines sifted powdered sugar, butter, peppermint extract and cream into a smooth, pliable dough. Shape into small discs, freeze until firm, then dip in melted dark chocolate with a touch of coconut oil for a glossy coating. Chill until set. Yield is about 24 patties; store airtight in the fridge for up to two weeks. Optional toppings: crushed candy or flaky sea salt.
Sinking my teeth into one of these peppermint patties always reminds me of the satisfying snap of dark chocolate giving way to a creamy mint middle. Funny enough, I first tried making them because a cold evening begged for something bright and invigorating, and these treats delivered exactly that cool burst. The kitchen smelled like a candy shop just after mixing the filling, and I caught myself grinning at the sticky powdered sugar dust on my hands. Instead of feeling tedious, shaping each patty felt almost meditative, a rhythmic escape after a long day.
I still laugh when I remember making these for a small winter get-together—my friend Sam suddenly declared he didn’t like mint, but ended up sneaking three patties when he thought no one was looking. It turned into the night’s running joke, with everyone swapping their own quirky candy confessions. That batch disappeared faster than I expected, and I had to write the recipe down for half the guests before the evening ended.
Ingredients
- Powdered sugar: Sifting this makes the filling silkier and easier to mix, reducing those sneaky lumps that try to form.
- Unsalted butter: Letting the butter sit at room temperature means it blends in smoothly—don’t rush this if you want a creamy texture.
- Pure peppermint extract: Use pure rather than imitation; just a couple teaspoons go a long way toward that refreshing zing.
- Heavy cream: Adds richness and just enough moisture to pull the filling together—add slowly to avoid stickiness overload.
- Salt: A tiny pinch balances out all the sweetness and boosts the mint flavor instead of letting it fade into the chocolate.
- Dark chocolate (60–70% cocoa): Choose a chocolate that snaps when broken—it’ll give your patties that satisfying shell.
- Coconut oil (optional): Mixing in a little coconut oil makes the chocolate coating glossier and easier to handle, but you can skip it if you like a classic snap.
Instructions
- Mix your filling:
- Combine powdered sugar, butter, peppermint extract, cream, and salt until a smooth dough forms, using a spatula or mixer—listen for that gentle thwack in the bowl when the dough starts coming together.
- Shape the patties:
- Pinch off small pieces (roughly 2 teaspoons each), roll gently into balls, then flatten into tidy 1/4-inch discs on a parchment-lined baking sheet; they might try to stick, but dust your hands lightly with more sugar if needed.
- Chill for confidence:
- Pop the baking sheet in the freezer for about 20–30 minutes; the filling firms up, making them less fragile for dipping.
- Melt chocolate magic:
- Set chocolate and coconut oil in a heatproof bowl over a simmering pot, stirring until everything’s glossy and smooth—don’t let any water sneak in or the chocolate will seize.
- Enrobe in chocolate:
- With a steady fork, lower each disc into the chocolate, flip, then gently shake off excess; this can get messy, but that’s half the fun.
- Chill and set:
- Return the coated patties to the parchment, sprinkle with crushed candy if feeling festive, then chill for 15 minutes or till beautifully set and shiny.
 Save
Save There was a moment last December, just after setting a plate of glossy finished patties out, when my neighbor’s kid squealed at the first bite, peppering the room with delighted ‘oohs’ and ‘aahs.’ Suddenly, the simple act of making candy turned into a shared celebration, and even the adults hovered for seconds. That night, these homemade patties were the star, and what started as a kitchen experiment became a yearly tradition for our little block.
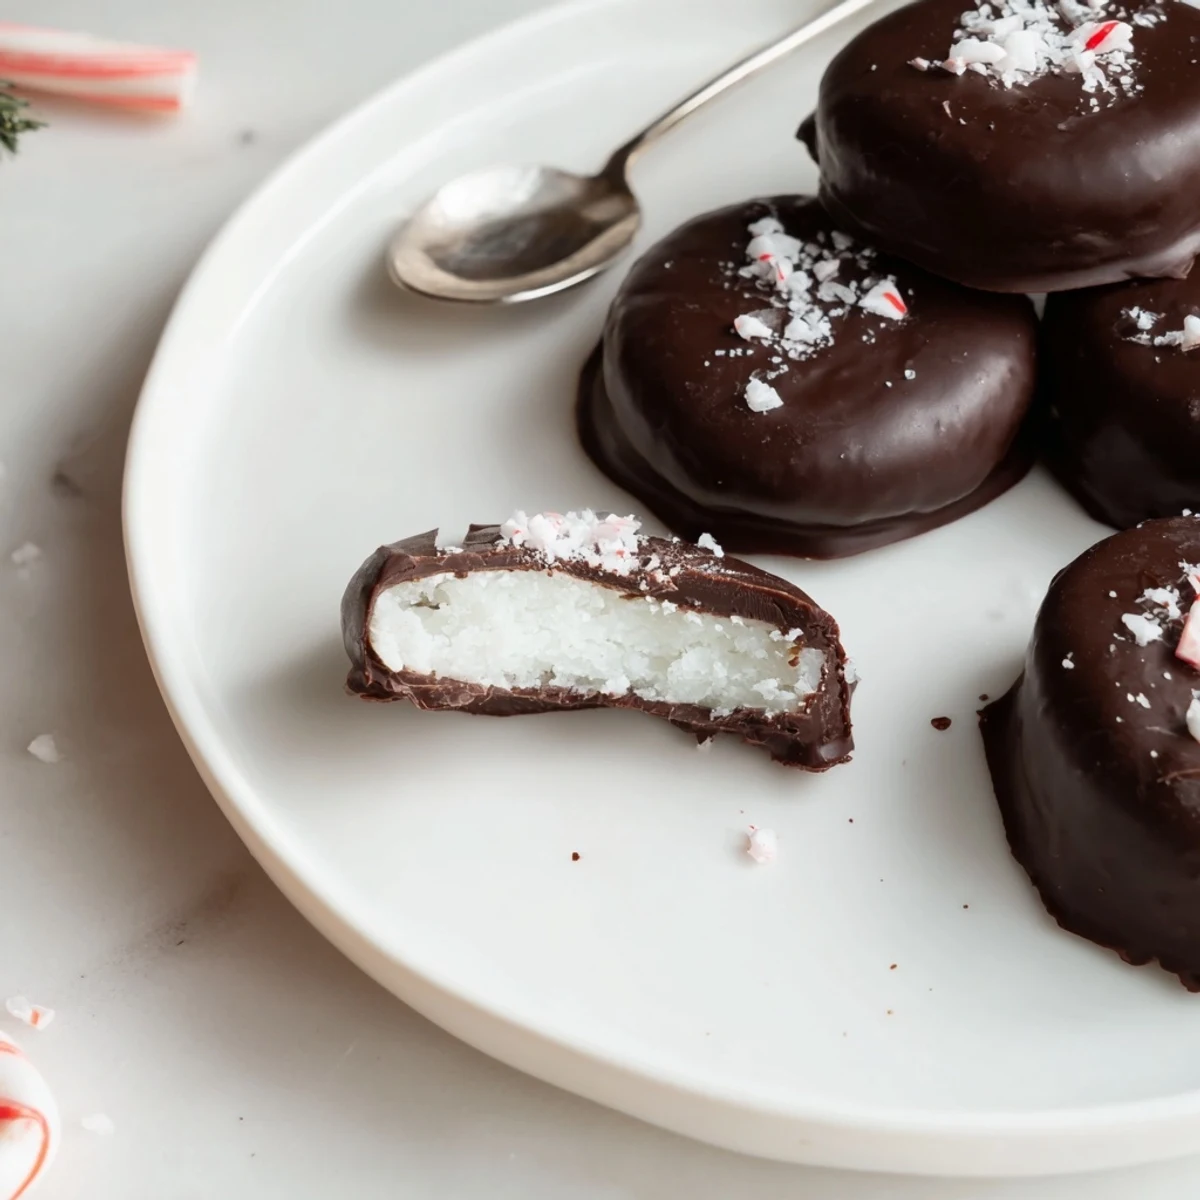
Achieving a Smooth Peppermint Center
I once thought I could skip sifting the powdered sugar, but lumps made for uneven, bumpy fillings that just didn’t melt as smoothly on the tongue. For the creamiest centers, I always take a couple extra minutes to sift and mix thoroughly, pausing to check the dough’s texture—if it’s too stiff or sticky, adjusting with more cream or sugar on the fly has saved the batch every time.
Choosing the Right Chocolate for Dipping
The difference between a ho-hum and a spectacular peppermint patty is all about the chocolate shell. Splurging on a good bar instead of basic chips transformed mine from waxy to restaurant-quality, and melting slowly over hot water gives just the right smooth finish without burning.
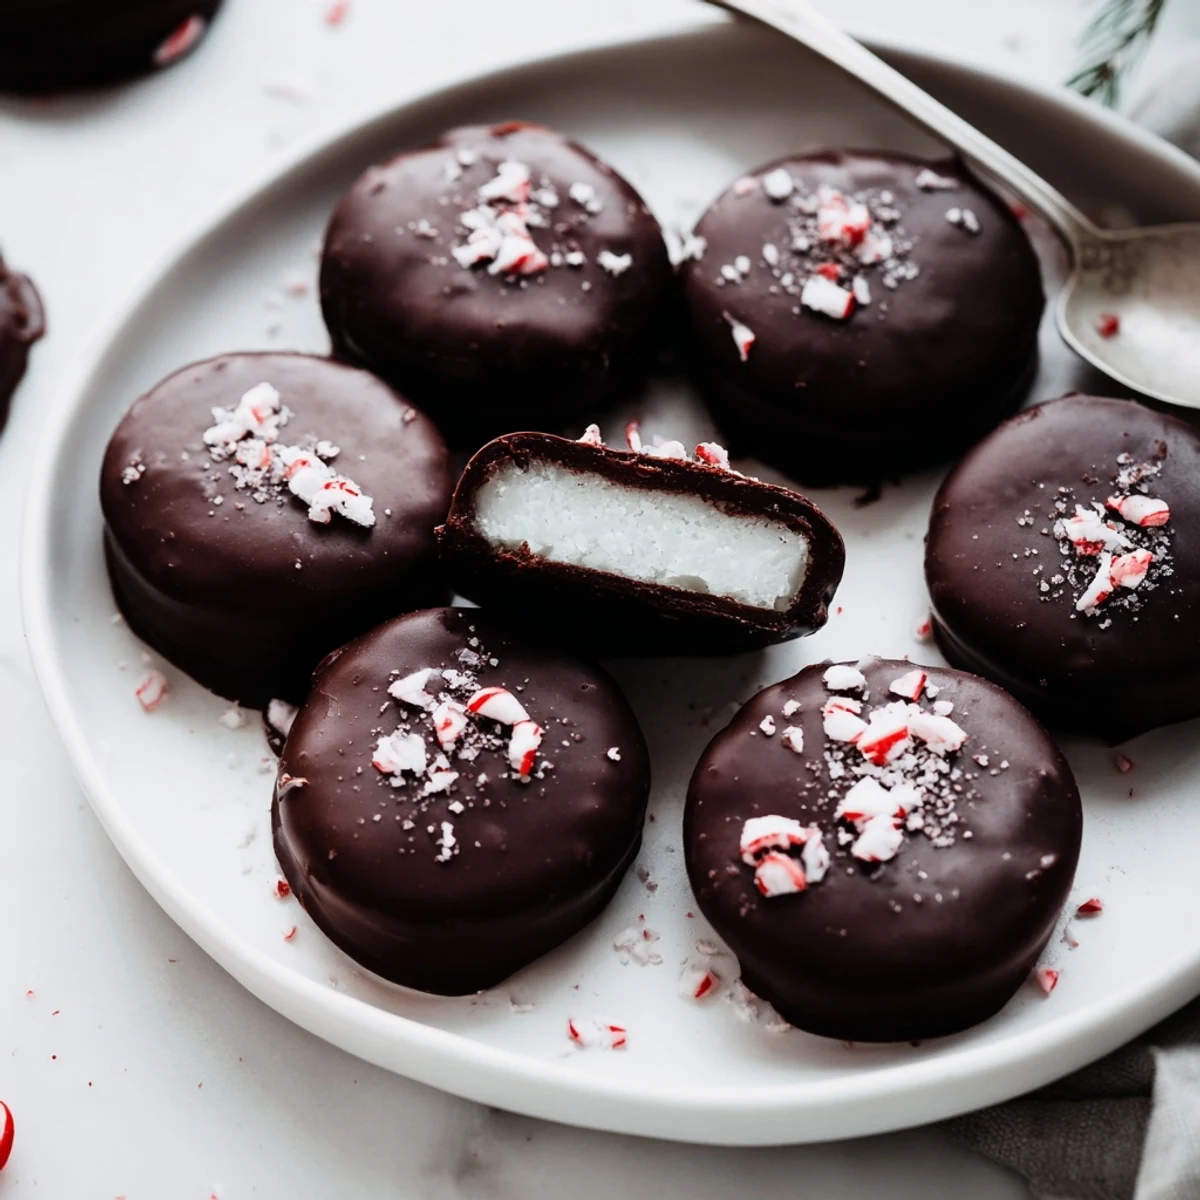
Decorating and Storing Tips
Crushed peppermint, flaky salt, or drizzle of extra chocolate—each adds a special touch if you’re gifting or serving. I’ve even pressed the tiniest edible gold leaf on a few for holiday trays, and they looked straight out of a boutique shop.
- Lay parchment between layers if you stack them in a box to avoid sticking.
- Store these in the fridge for freshest flavor, as the mint intensifies and the chocolate stays snappy.
- If you’re making them ahead, wait to decorate until just before serving so the toppings stay pretty.
 Save
Save Making peppermint patties at home turns a classic into something truly special, shared by hands and laughter. Save a couple for yourself—they go missing faster than you’d ever believe.
Recipe FAQ
- → How do I know when the filling is the right texture?
-
It should be smooth and pliable, similar to a stiff fondant. If it’s sticky, gradually add more sifted powdered sugar until you can roll and shape discs without sticking.
- → Can I make the mint centers ahead of time?
-
Yes. Shape and freeze the discs until firm, then store them in an airtight container between layers of parchment. Dip in chocolate when ready to finish.
- → What’s the best way to get a smooth chocolate coating?
-
Melt dark chocolate gently over simmering water and stir until glossy. Adding a teaspoon of coconut oil helps thin the chocolate and gives a shinier finish.
- → How can I make these dairy-free?
-
Swap dairy butter for a vegan spread and use coconut cream or a non-dairy milk thickened slightly in place of heavy cream. Choose dairy-free dark chocolate for coating.
- → How should I store the finished patties?
-
Keep them in an airtight container in the refrigerator for up to two weeks. Bring to cool room temperature briefly before serving for best texture.
- → Any tips for festive finishing touches?
-
Sprinkle crushed peppermint candy, finely grated candy cane, or flaky sea salt on the chocolate before it sets for added crunch and visual appeal.