Save
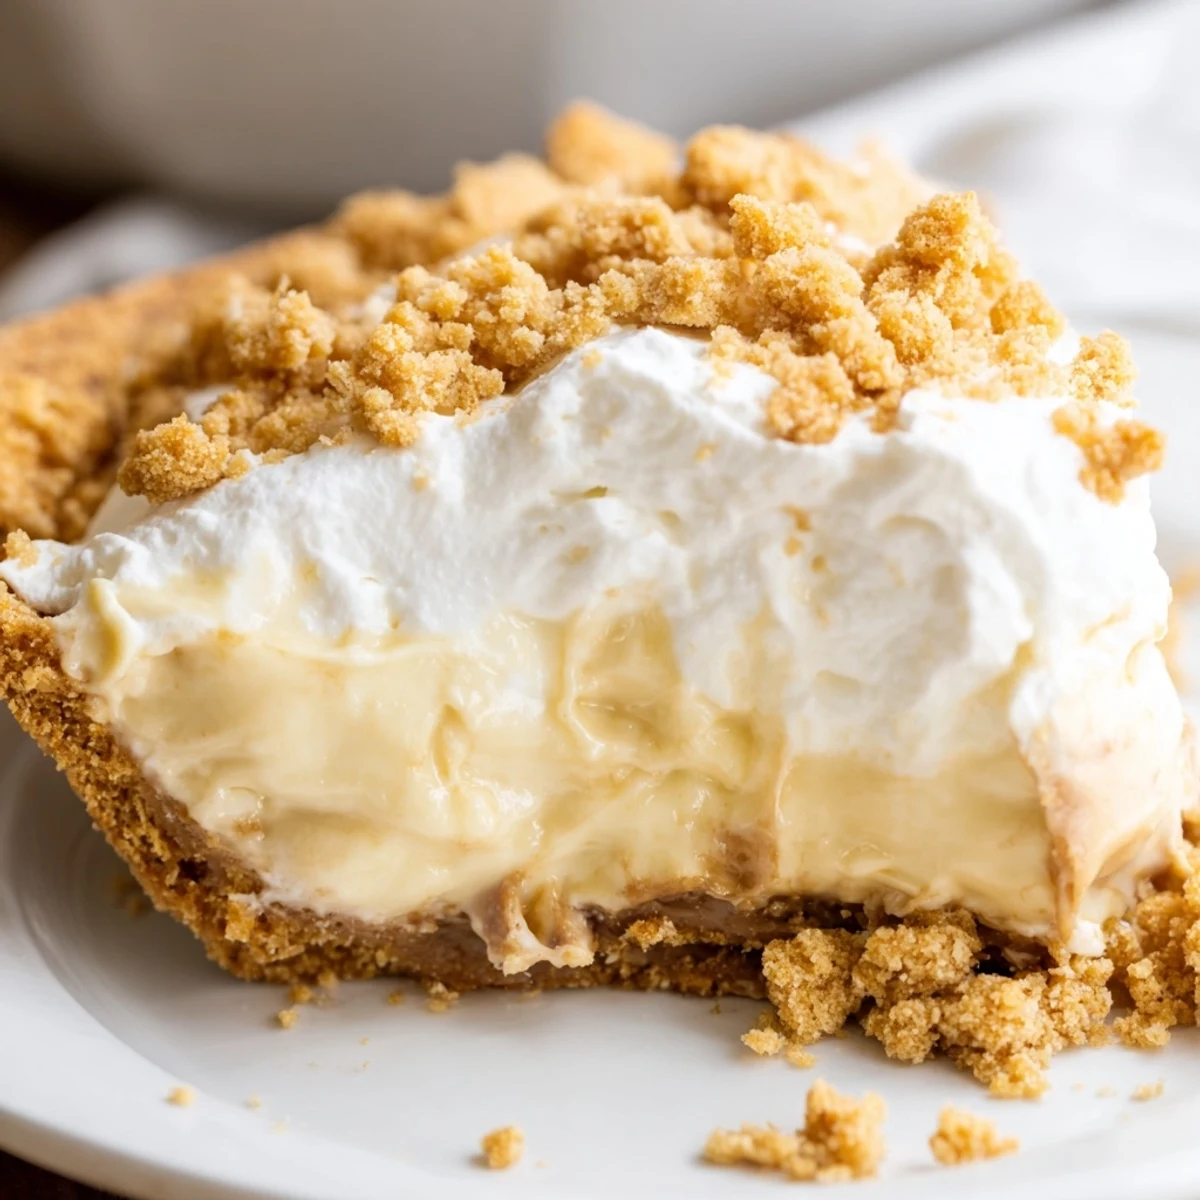
Save This old-fashioned Amish dessert combines a rich, creamy peanut butter filling with layers of sweetened peanut butter crumbs and freshly whipped cream. The filling starts with a traditional custard base made from milk, egg yolks, and vanilla, creating that signature velvety texture Amish baking is known for. After setting in the refrigerator, the chilled pie gets crowned with billowy whipped cream and a final dusting of crumbly peanut butter mixture. The entire dessert comes together with just 25 minutes of active preparation time, though the three-hour chilling period is essential for achieving that perfect sliceable consistency. Serve this comfort classic after a family dinner or bring it to your next potluck gathering.
The summer my neighbor Mrs. Higgins brought this pie over after I'd had a particularly rough week at work, I sat on my back porch steps eating it straight from the container she'd lent me. Something about that creamy peanut butter filling hitting those salty-sweet crumbs made everything feel manageable again. I called her the next day practically begging for the recipe, which she laughed and said had been passed down through three generations of Amish cooks in her family. Now whenever I make it, my kitchen fills with that same comfort.
Last Thanksgiving I decided to take a risk and bring this instead of the usual pumpkin pie. My brother-in-law who normally politely declines dessert went back for seconds, then thirds, and finally asked if there was any he could take home. Watching my usually reserved family pass plates around the table, everyone murmuring between bites, reminded me why certain recipes earn their keep.
Ingredients
- 1 9-inch prepared pie crust: Having this baked and ready saves so much time, though homemade graham cracker or shortbread crusts add wonderful flavor
- 3/4 cup creamy peanut butter: The peanut butter matters here—use a brand you love eating straight from the spoon
- 1 cup powdered sugar: This combines with the peanut butter to make those magical crumbles that create texture throughout every bite
- 2/3 cup granulated sugar: Sweetens the custard filling just enough without overpowering the peanut butter
- 1/3 cup all-purpose flour: Essential for thickening the filling into that silky pudding consistency
- 1/4 teaspoon salt: A tiny pinch that makes all the flavors pop and taste more like themselves
- 2 cups whole milk: Whole milk creates the richest, creamiest filling youll want in this pie
- 3 large egg yolks: These give the filling structure and that gorgeous glossy finish
- 1 teaspoon pure vanilla extract: Pure vanilla makes a difference you can taste in the background
- 2 tablespoons unsalted butter: Adds silkiness and rounds out the filling beautifully
- 1 cup heavy whipping cream: Whipped into clouds that float on top of the pie
- 2 tablespoons powdered sugar: Just enough to sweeten the whipped cream without making it cloying
- 1/2 teaspoon vanilla extract: A little extra vanilla in the cream ties everything together
Instructions
- Make the magic crumbs:
- Mix the peanut butter and powdered sugar in a medium bowl with a fork until it looks like sandy crumbles. You'll know it's ready when you can pinch it together and it holds its shape.
- Layer the bottom:
- Spread half of those peanut butter crumbs evenly across the bottom of your baked and cooled pie crust. Press them down gently with the back of a spoon so they stay put.
- Start the filling base:
- Whisk together the granulated sugar, flour, and salt in a saucepan until no flour lumps remain. Gradually pour in the milk while whisking constantly until everything's smooth and combined.
- Cook the custard:
- Set the pan over medium heat and keep whisking without stopping for about 4 to 5 minutes. You'll feel it thicken and suddenly it'll start trying to bubble—that's your signal it's ready.
- Temper the eggs:
- Whisk your egg yolks in a separate bowl while the milk mixture heats. Scoop out about half a cup of the hot mixture and slowly drizzle it into the yolks while whisking furiously so they don't scramble.
- Combine and thicken:
- Pour that warmed egg mixture back into the saucepan, still whisking constantly. Cook for 2 more minutes until it's thick enough to coat the back of a spoon and looks glossy and gorgeous.
- Finish the filling:
- Remove from heat and stir in the butter and vanilla until the butter melts and everything is perfectly smooth. Give it a minute to cool slightly so it doesn't melt those bottom crumbs too much.
- Assemble and chill:
- Pour the warm filling over the peanut butter crumbs in your crust. Let it sit at room temperature for about 15 minutes, then pop it in the fridge for at least 2 hours until completely set and firm.
- Make the whipped topping:
- Beat the heavy cream, powdered sugar, and vanilla together until stiff peaks form. You know it's ready when you can turn the bowl upside down and nothing moves.
- Finish and serve:
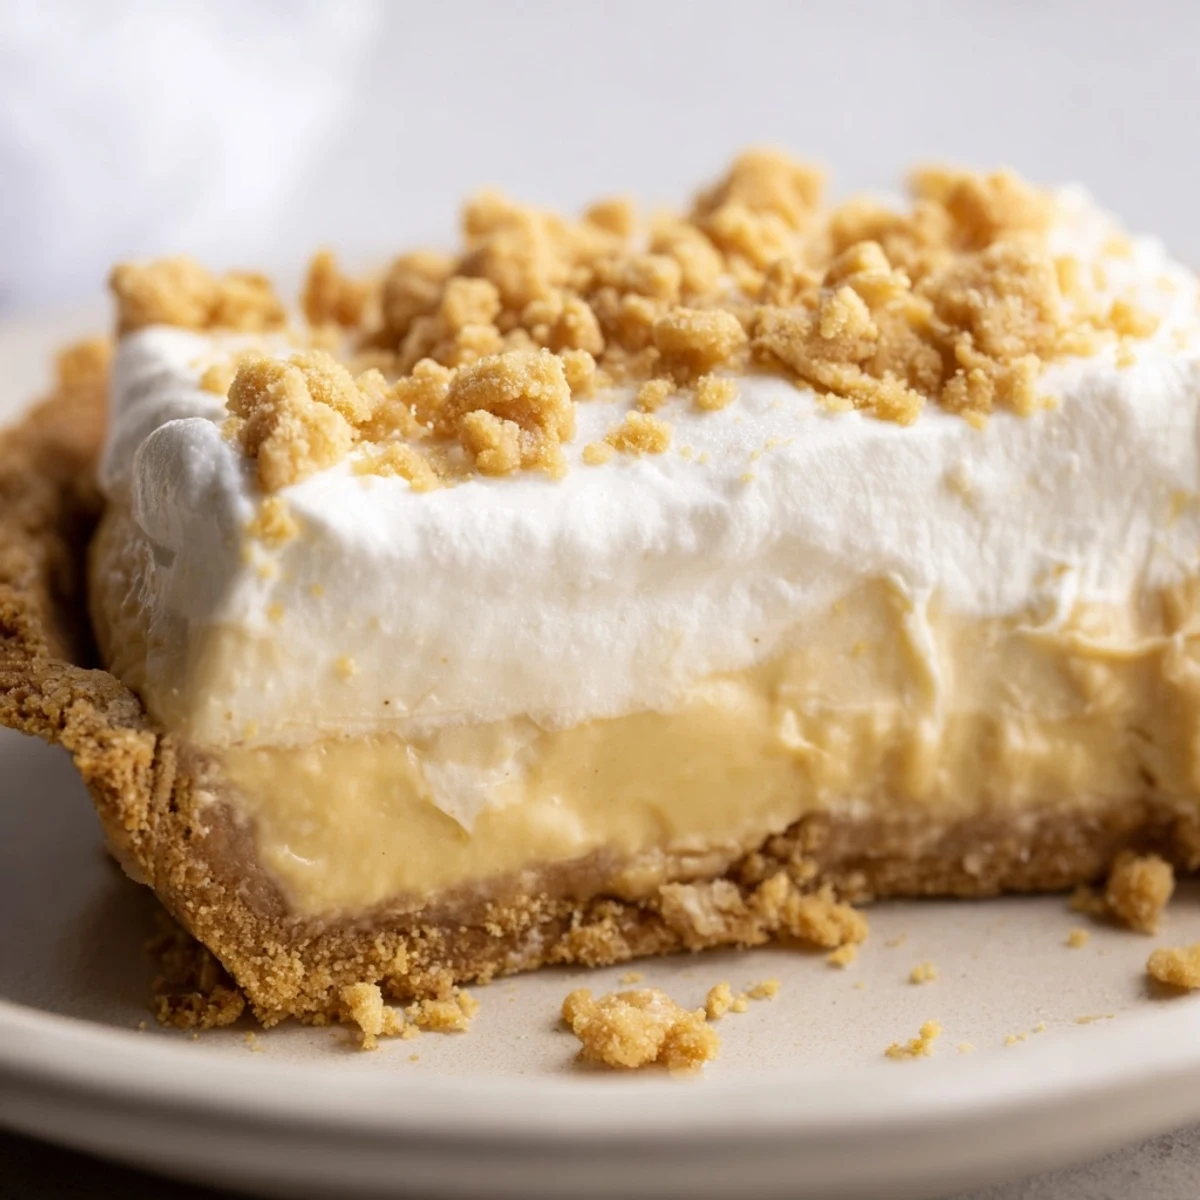
- Spread that whipped cream over your chilled pie however you like—swirls are pretty. Sprinkle the remaining peanut butter crumbs over the top right before serving for that perfect crunch.
 Save
Save My daughter asked if she could bring a slice to school for her birthday treat, and when I opened her lunchbox that afternoon I found a note from her teacher saying it was the best thing she'd tasted in years. There's something about this pie that makes people want to share it, pass it around, and remember who gave them that first forkful.
Making It Ahead
The pie actually gets better after sitting overnight in the fridge, as the flavors meld together and the crumbs soften slightly into the filling. I've made it the day before a dinner party countless times, and it's always just as impressive.
Crust Options
While a standard pie crust works perfectly, a graham cracker crust adds a wonderful crunch and flavor that pairs beautifully with peanut butter. Sometimes I even mix in a tablespoon of melted butter with the graham cracker crumbs for extra richness.
Serving Suggestions
This pie needs nothing more than a fork and maybe a cold glass of milk, but a drizzle of warm chocolate sauce over individual slices never hurt anyone. I've also served it alongside fresh berries for a pop of color and tartness.
- Let it sit at room temperature for 10 minutes before slicing for cleaner cuts
- A warm knife dipped in hot water makes perfect slices
- Store any leftovers covered in the fridge for up to 3 days
 Save
Save Every time I pull this pie from the fridge, I'm reminded of how the simplest recipes often become the ones we reach for most. There's quiet wisdom in that.
Recipe FAQ
- → How long should I chill the peanut butter pie before serving?
-
Refrigerate the filled pie for at least 2 hours until completely set. The filling needs this time to firm up properly for clean slices. You can make it a day ahead and keep it refrigerated, which actually improves the texture and flavor.
- → Can I use crunchy peanut butter instead of creamy?
-
Creamy peanut butter works best for both the filling and crumbs to achieve that smooth, velvety texture. Crunchy varieties would alter the consistency and make it difficult to create the fine crumb topping that gives this dessert its signature finish.
- → What type of crust works best with this Amish peanut butter pie?
-
A traditional 9-inch baked pie crust works beautifully, whether store-bought or homemade. For extra flavor, consider a graham cracker or shortbread crust which complements the creamy peanut butter filling and adds another layer of buttery richness.
- → Can I make this peanut butter dream pie ahead of time?
-
Absolutely. This dessert actually tastes better when made a day in advance, allowing the flavors to meld and the filling to fully set. Just add the whipped cream topping and final crumb sprinkling within a few hours of serving for the freshest presentation.
- → How do I know when the custard filling is thick enough?
-
The filling is ready when it coats the back of a spoon and just begins to bubble around the edges, typically after 4-5 minutes of constant whisking. It should thicken considerably and take on a glossy appearance. Remember it will continue to thicken as it cools.
- → What's the best way to store leftover peanut butter pie?
-
Cover the pie loosely with foil or plastic wrap and refrigerate. It will keep well for 3-4 days, though the whipped cream topping may start to weep slightly after day two. For best results, add any remaining whipped cream just before serving leftovers.