 Save
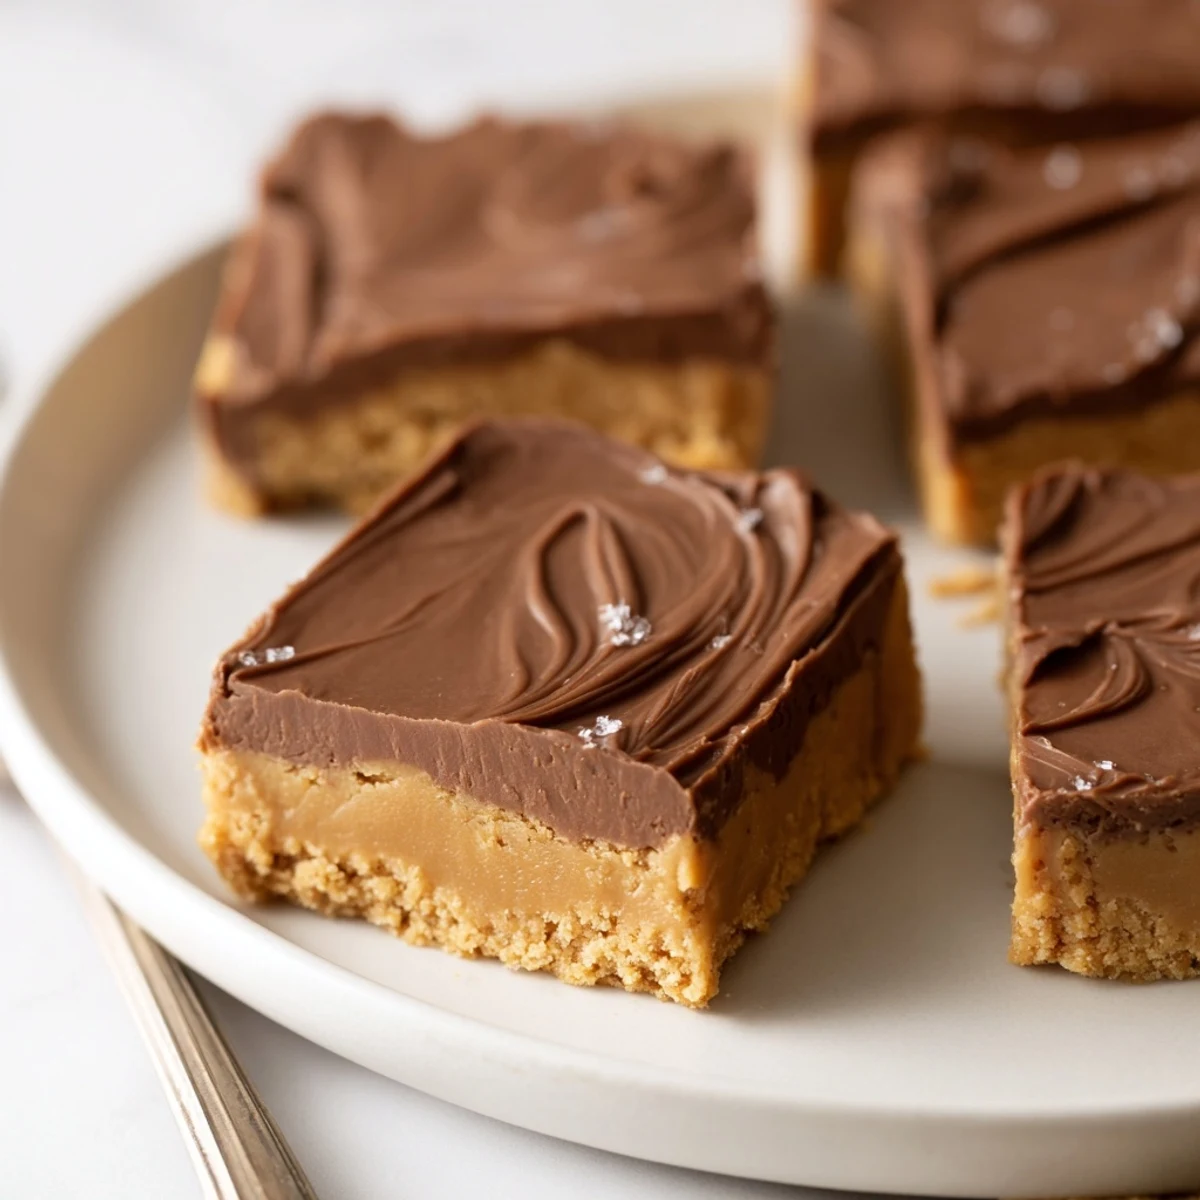
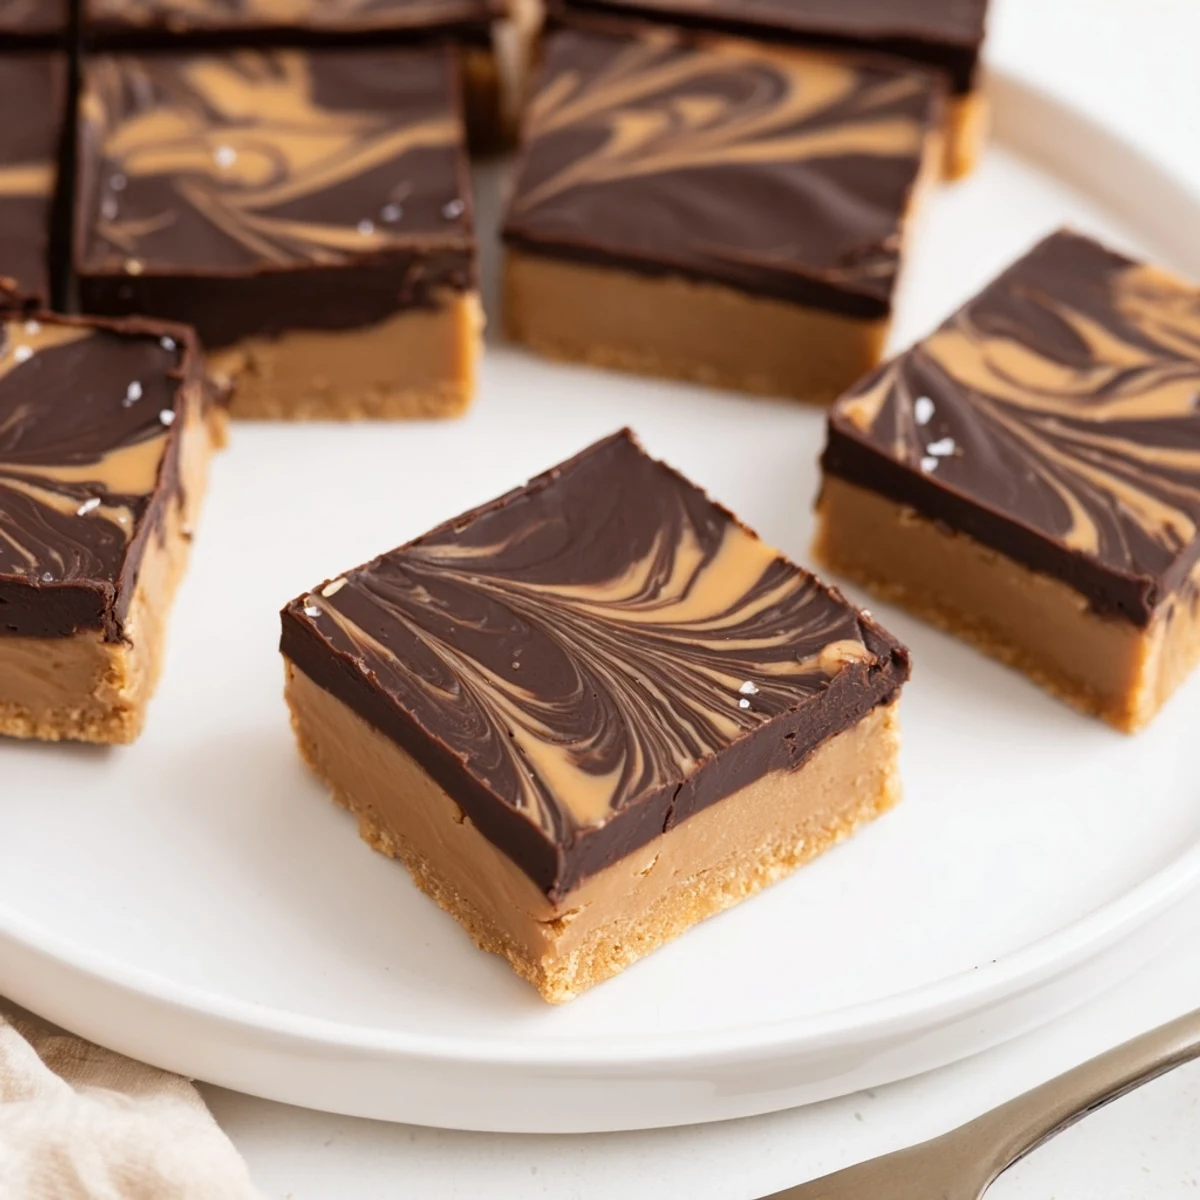
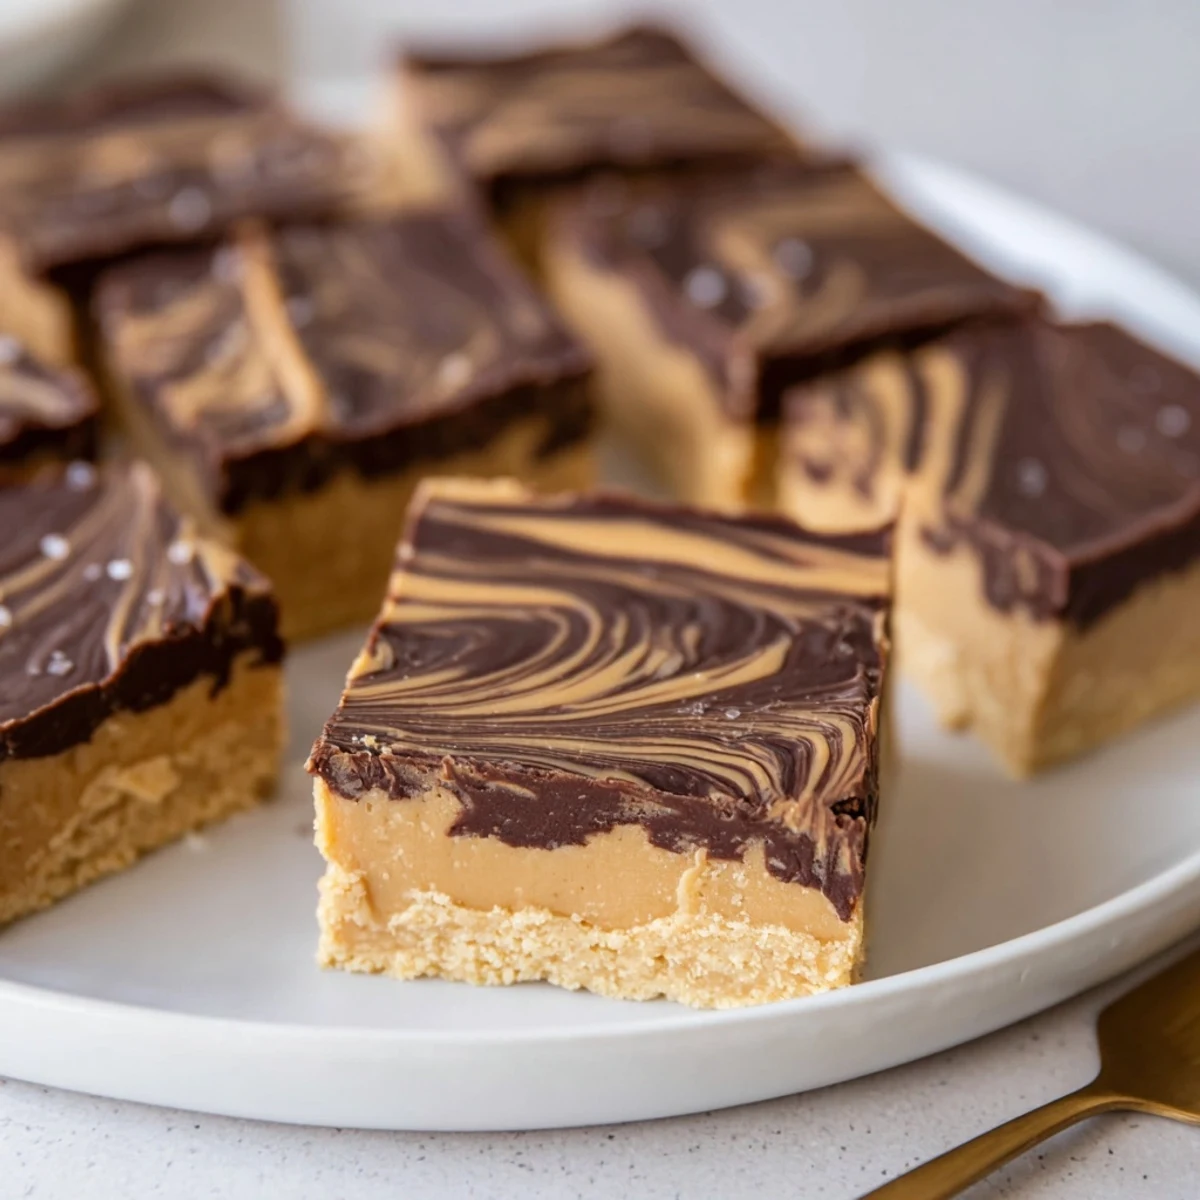
Save These no-bake peanut butter bars start with a buttery base of creamy peanut butter, melted butter, powdered sugar and graham cracker crumbs pressed into an 8x8 pan. A glossy chocolate-peanut butter topping is melted and spread on before chilling for at least 2 hours. Yield is 16 bars. For variation, use chunky peanut butter, fold in chopped peanuts, or sprinkle sea salt before setting.
The hum of the refrigerator was the only sound in my apartment as I first stirred these No Bake Peanut Butter Bars together one rainy afternoon. I remember how the chocolate and peanut butter scent seemed to instantly brighten the kitchen, chasing away any gloom. What surprised me most was how simple it all felt—just mixing, pressing, and waiting, no oven to preheat or watch. The anticipation while the bars chilled ended up being half the fun.
Last summer, I whipped up two pans for a friend's backyard birthday after realizing I couldn't face turning the oven on in the July heat. The bars melted perfectly into paper napkins, but nobody minded—the laughter and chocolatey fingerprints around the picnic table were proof enough these were a hit. I ended up scribbling the recipe on the back of a party invitation for half the guests before I went home. It's become my standby for easy entertaining ever since.
Ingredients
- Creamy peanut butter: Using a smooth peanut butter makes the bar base extra soft—I've found stirring it thoroughly first ensures a silky mix.
- Unsalted butter: Melting the butter helps everything blend together seamlessly, and using unsalted keeps the sweetness balanced.
- Powdered sugar: Sift it if you want to avoid lumps; it gives the bars a melt-in-your-mouth texture.
- Graham cracker crumbs: I discovered that pulsing the crackers in a bag with a rolling pin makes the perfect, even crumb for these bars.
- Vanilla extract: Just a splash adds warmth to the base—real extract makes a noticeable difference.
- Semi-sweet chocolate chips: Go for a brand you love to eat straight from the bag, since their flavor shines here.
- Creamy peanut butter (for topping): Mixing peanut butter into the chocolate means the top never sets too hard, so slicing is easy.
Instructions
- Prep your pan:
- Line your 8x8 inch baking pan with parchment paper so it hangs over the sides—trust me, it makes lifting the bars out completely hassle-free.
- Blend the base:
- In a big mixing bowl, combine melted butter and peanut butter with a spatula until glossy and smooth; the smell alone will make your mouth water.
- Add the dry ingredients:
- Pour in the powdered sugar and graham cracker crumbs, followed by vanilla. Stir with some elbow grease until it comes together into a thick, doughy mass—there’s a real satisfaction in smoothing it out.
- Press it down:
- Transfer the mixture to your lined pan and press it out evenly with the back of a spatula, making sure to get it into every corner.
- Make the chocolate-peanut butter topping:
- In a microwave-safe bowl, combine chocolate chips and peanut butter. Heat in 30-second bursts, stirring after each, until you get a silky, pourable topping.
- Top and chill:
- Pour the melted chocolate mix over the base and use your spatula to spread it edge to edge. Set the pan in the fridge for at least two hours (the hardest part is waiting!).
- Slice and enjoy:
- Once fully set, use the parchment overhang to lift the bars out, then cut into 16 portions. Each slice will have that glorious chocolate-peanut butter layer splitting with just the right snap.
 Save
Save One cold evening, I brought a batch of these bars to my neighbor who was stuck inside with a sick kid—she swore the creamy, sweet treat boosted their spirits more than any get-well card. That’s when I realized these are more than dessert; they’re a little act of kindness you can offer with your own two hands.
Easy Variations and Custom Touches
I've tried mixing a handful of chopped roasted peanuts or swapping in chunky peanut butter for a little crunch, both versions vanished just as quickly. For a fancier feel, sometimes I sprinkle flaky sea salt or drizzle white chocolate over the set bars. One night, I added a dash of cinnamon to the base—no one could quite place the flavor, but everyone reached for seconds.
Storing and Serving Suggestions
Store any extras in an airtight container in the fridge, where they'll keep happily for a week—though mine rarely make it that long. These bars travel beautifully for picnics and potlucks, just separate layers with a bit of parchment if you’re stacking them.
Troubleshooting and Quick Fixes
Sometimes, I get impatient and try to slice before they’ve set up firm—the bars hold shape much better if you wait. If the chocolate looks dull on top, just let it chill uncovered for a bit and it’ll usually gloss over. A pinch of salt on top before chilling always wakes up the flavor.
- If your base feels too dry, add a spoonful more melted butter.
- For a gluten-free version, swap in your favorite GF cookies or oat biscuits.
- Don’t forget to press the mixture into the corners for perfectly shaped bars!
 Save
Save However you tweak them, No Bake Peanut Butter Bars always invite people to gather and sneak another bite. Here’s hoping your kitchen smells as delicious as mine did the first time you make them together.
Recipe FAQ
- → Can I use crunchy peanut butter?
-
Yes. Crunchy peanut butter adds texture and chopped peanut pieces; stir well so the base binds evenly. If too dry, add a teaspoon of melted butter to reach a pressable consistency.
- → What’s the best way to melt the chocolate topping?
-
Melt chocolate chips with peanut butter in 20–30 second microwave bursts, stirring between intervals to avoid scorching. Alternatively, use a double boiler over simmering water and stir until glossy and smooth.
- → How do I make a gluten-free version?
-
Substitute graham cracker crumbs with gluten-free cookies or crushed gluten-free graham-style biscuits. Ensure all other packaged ingredients are labeled gluten-free to avoid cross-contact.
- → How long will they keep and can I freeze them?
-
Store bars in an airtight container in the refrigerator for up to one week. For longer storage, freeze cut bars in a single layer on a tray, then transfer to a freezer-safe container for up to 2 months; thaw in the fridge before serving.
- → How can I make the bars firmer or softer?
-
For firmer bars, press the base more tightly into the pan and chill longer. To soften texture, reduce powdered sugar slightly or let bars sit at room temperature a few minutes before serving.
- → Any quick topping or flavor variations?
-
Try sprinkling chopped roasted peanuts or flaky sea salt on the chocolate before it sets, or swirl in a little dark chocolate for contrast. For extra crunch, fold chopped peanuts into the base.