 Save
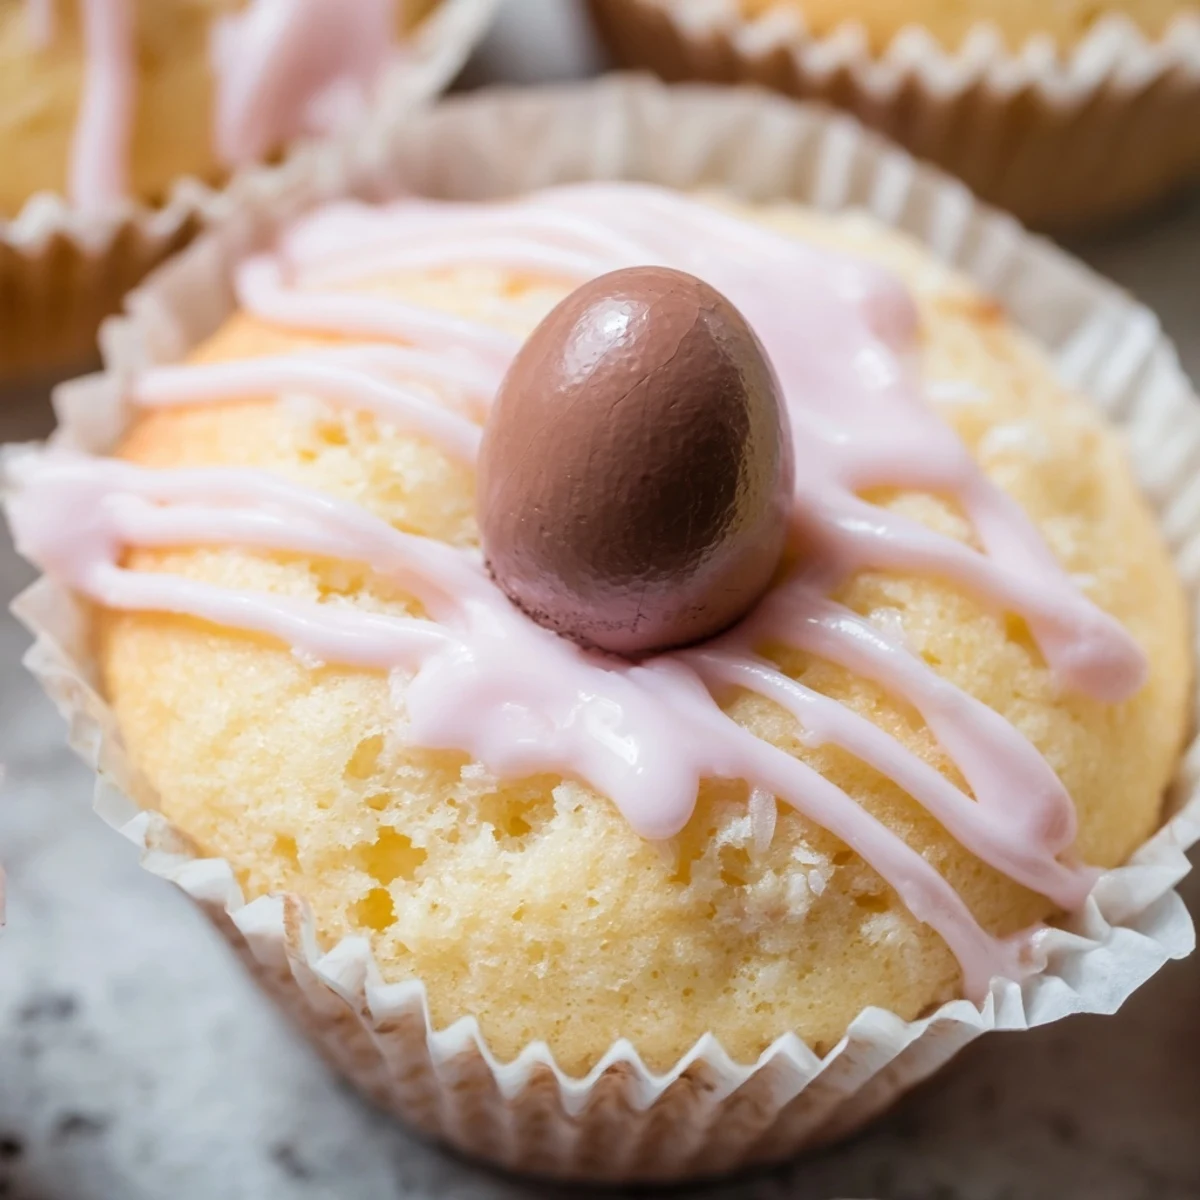
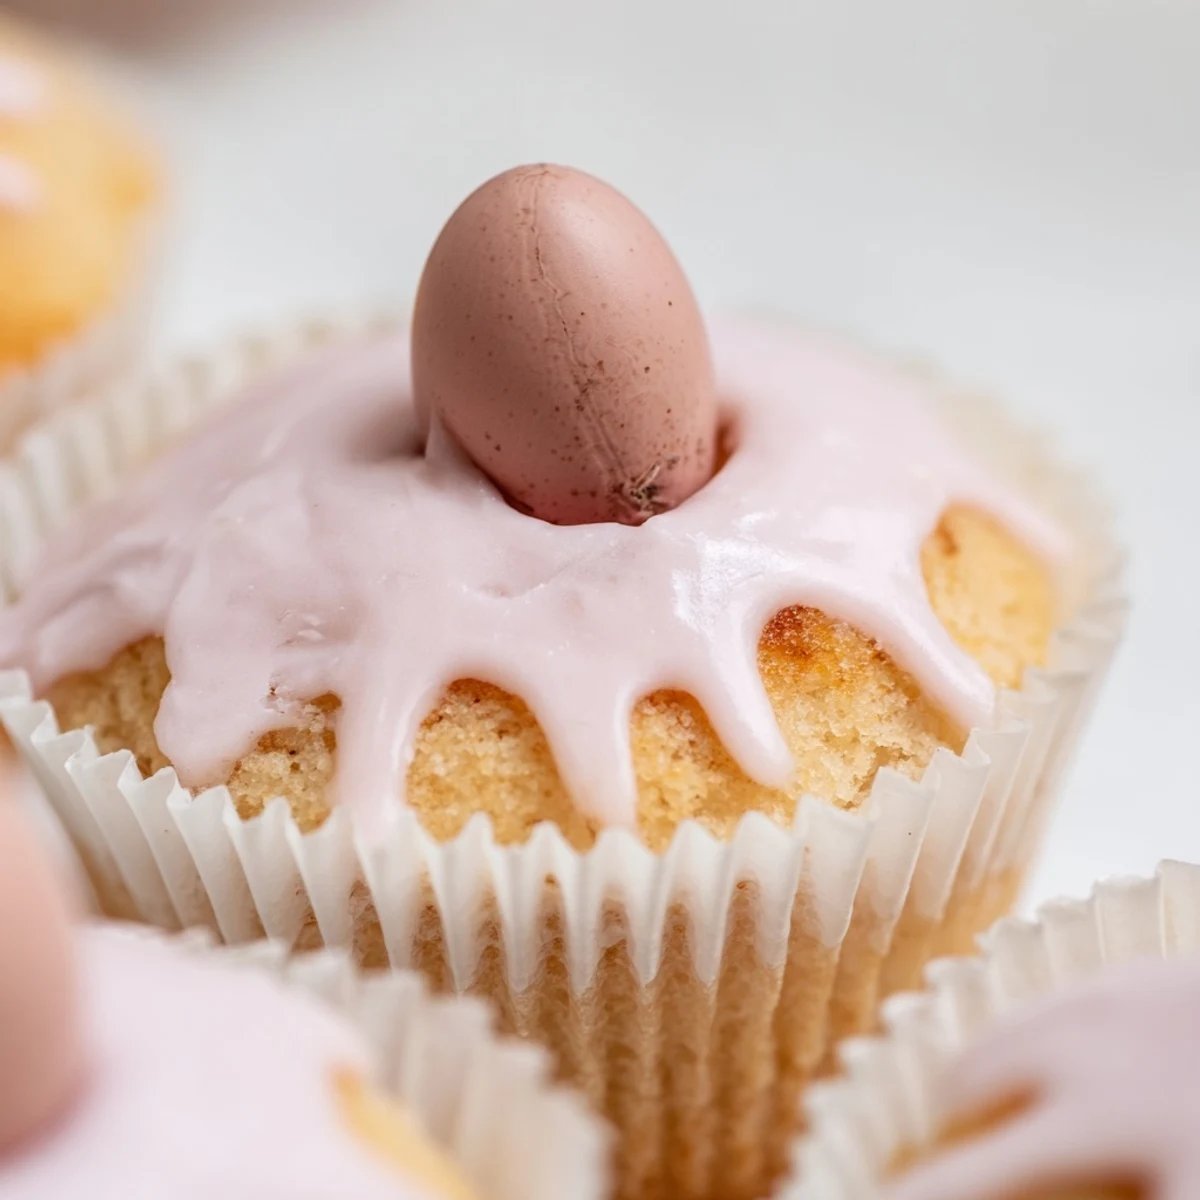
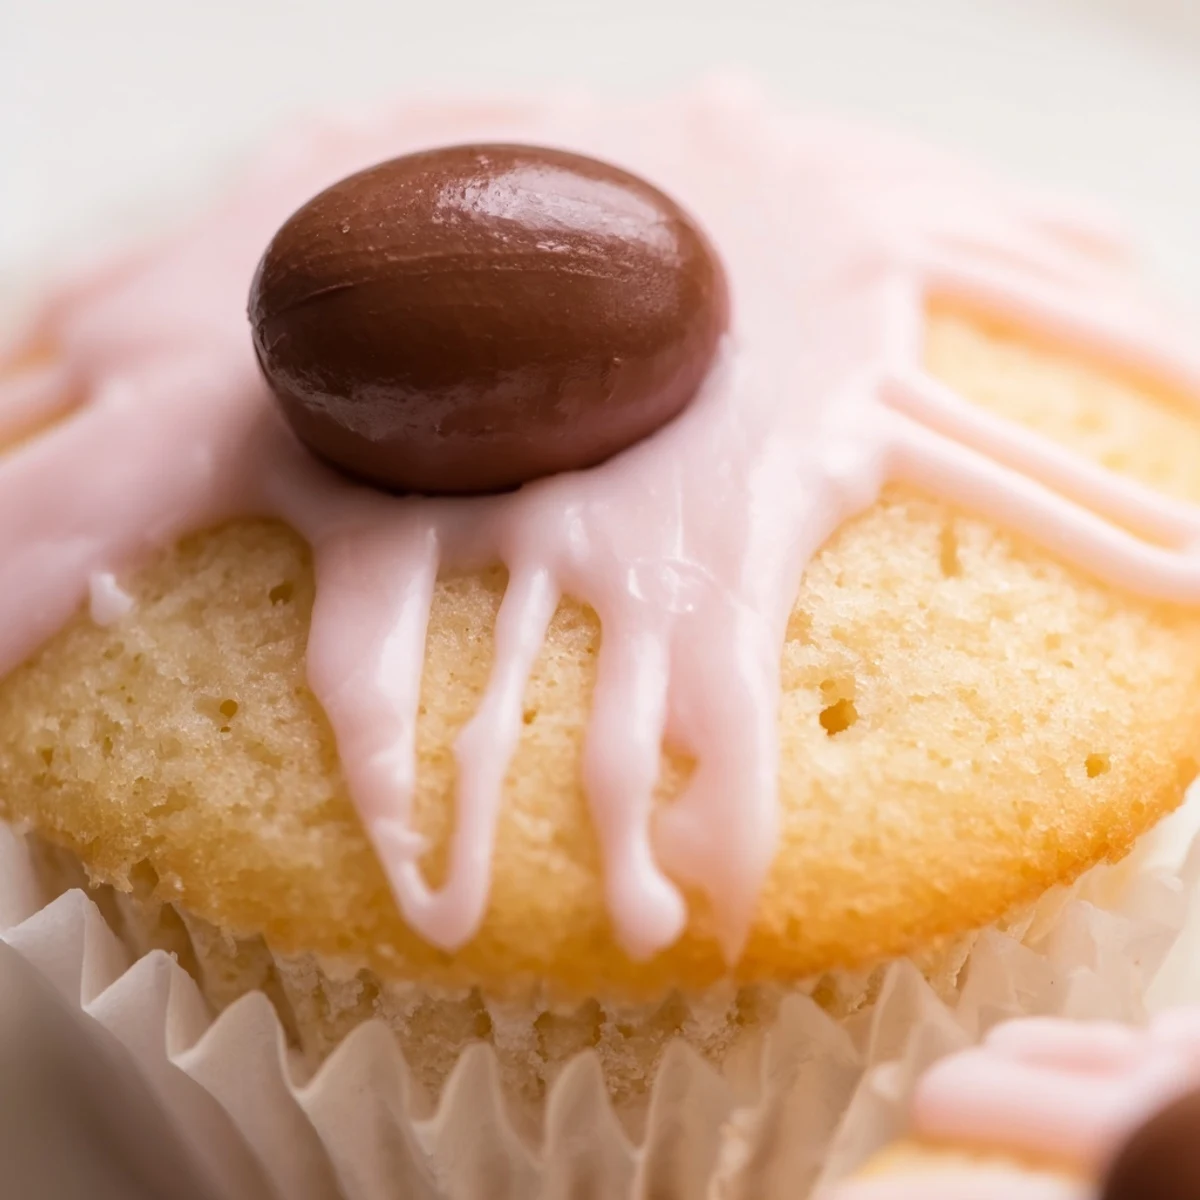
Save These delightful mini cakes feature light vanilla sponge bases topped with smooth pastel icing and cheerful Easter decorations. Each individual portion delivers fluffy sweetness perfect for spring gatherings. The straightforward method creates consistent results every time.
The sponge batter comes together quickly with pantry staples, while the tinted icing adds festive charm without complicated techniques. Decorate with mini chocolate eggs, edible flowers, or sprinkles for personalized touches that brighten any holiday table.
These handheld treats work beautifully for Easter brunch, classroom parties, or afternoon tea. Make them ahead and store properly, or prepare the components in advance for effortless assembly before serving.
My daughter helped me make these last Easter, and her hands were absolutely covered in pastel food coloring by the time we finished decorating. She insisted every cake needed its own unique color pattern, and honestly, she was right about that. The kitchen looked like a springtime rainbow had exploded, but those little cakes disappeared faster than anything else on the table.
Last year I brought these to a neighborhood potluck and watched three different people ask for the recipe before they even took their second bite. Something about miniature desserts makes people feel like they are indulging without going overboard.
Ingredients
- All-purpose flour: The foundation that gives these little cakes their tender structure without becoming dense
- Baking powder: Essential for that light, fluffy rise that makes each bite feel like eating a cloud
- Unsalted butter: Room temperature butter incorporates beautifully, creating the perfect crumb texture
- Granulated sugar: Sweetens while helping create those delightfully golden edges
- Large eggs: Must be room temperature to emulsify properly with the butter
- Vanilla extract: Pure vanilla makes all the difference in a simple batter
- Milk: Whole milk creates the richest texture, though any milk works
- Powdered sugar: Sift first to prevent lumpy icing that ruins the smooth finish
- Pastel food coloring: Gel colors work best for vibrant yet soft Easter shades
- Mini chocolate eggs: The classic topping that makes everyone smile instantly
Instructions
- Prep your baking space:
- Preheat the oven to 350°F and grease your muffin tin thoroughly or line with pretty paper cases.
- Combine the dry ingredients:
- Whisk flour, baking powder, and salt in a bowl to ensure even distribution.
- Cream the butter and sugar:
- Beat until the mixture turns pale and fluffy, about 3 minutes of patient mixing.
- Add eggs and vanilla:
- Beat in eggs one at a time, fully incorporating each before adding the next.
- Gently combine wet and dry:
- Alternate adding flour mixture and milk, mixing only until just combined to keep the texture tender.
- Fill and bake:
- Divide batter among muffin cups and bake 18-20 minutes until golden and springy.
- Cool completely:
- Let them rest 5 minutes in the pan before moving to a wire rack to finish cooling.
- Make the pastel icing:
- Mix powdered sugar with milk until thick and pourable, then divide into bowls for coloring.
- Decorate with joy:
- Drizzle colored icing over each cake and top with mini eggs while the icing is still slightly tacky.
 Save
Save These became an Easter tradition after the year my grandmother declared them better than her full-sized version. She later admitted it was because she could eat three without feeling guilty.
Making Them Ahead
The unfrosted cakes freeze beautifully for up to a month, wrapped tightly in plastic. Thaw overnight at room temperature before decorating.
Flavor Variations
Fresh lemon or orange zest added to the batter transforms these into bright citrus treats that sing of spring. A teaspoon of almond extract creates an entirely different elegant profile.
Decoration Ideas
Beyond the classic mini eggs, try edible flowers, fresh berries, or even tiny marshmallow bunnies. The decorating possibilities are endless.
- Pipe the icing instead of drizzling for a more polished bakery look
- Use a toothpick to swirl multiple colors together for a marbled effect
- Store in a single layer to prevent the decorations from sticking together
 Save
Save These little cakes capture everything wonderful about spring baking in one bite-sized package. Happy Easter!
Recipe FAQ
- → Can I make these ahead of time?
-
Yes, bake the sponge cakes up to two days before serving. Store in an airtight container at room temperature. Ice and decorate on the day of serving for the freshest appearance, or add icing a few hours ahead and keep at room temperature.
- → What other decorations work well?
-
Beyond mini chocolate eggs, try shredded coconut, chopped nuts, candied citrus peel, or fresh berries. Edible flowers like pansies or violas add elegant spring touches. Pastel sprinkles, edible glitter, or drizzles of contrasting colored icing also create beautiful finishes.
- → How do I get smooth icing?
-
Sift powdered sugar before mixing to prevent lumps. Add liquid gradually while stirring until reaching thick, pourable consistency. If too thin, add more sifted sugar. If too thick, add milk one teaspoon at a time. Let iced cakes sit undisturbed until icing sets completely.
- → Can I freeze these cakes?
-
Freeze undecorated sponge cakes for up to three months. Wrap individually in plastic wrap, then place in a freezer bag. Thaw at room temperature before icing and decorating. Previously frozen cakes taste freshly baked once topped with icing and garnishes.
- → What makes these cakes fluffy?
-
Properly creaming butter and sugar until pale and fluffy incorporates air for light texture. Adding eggs one at a time ensures even distribution. Mixing flour just until combined prevents overworking gluten. Room temperature ingredients blend more smoothly for consistent results.