 Save
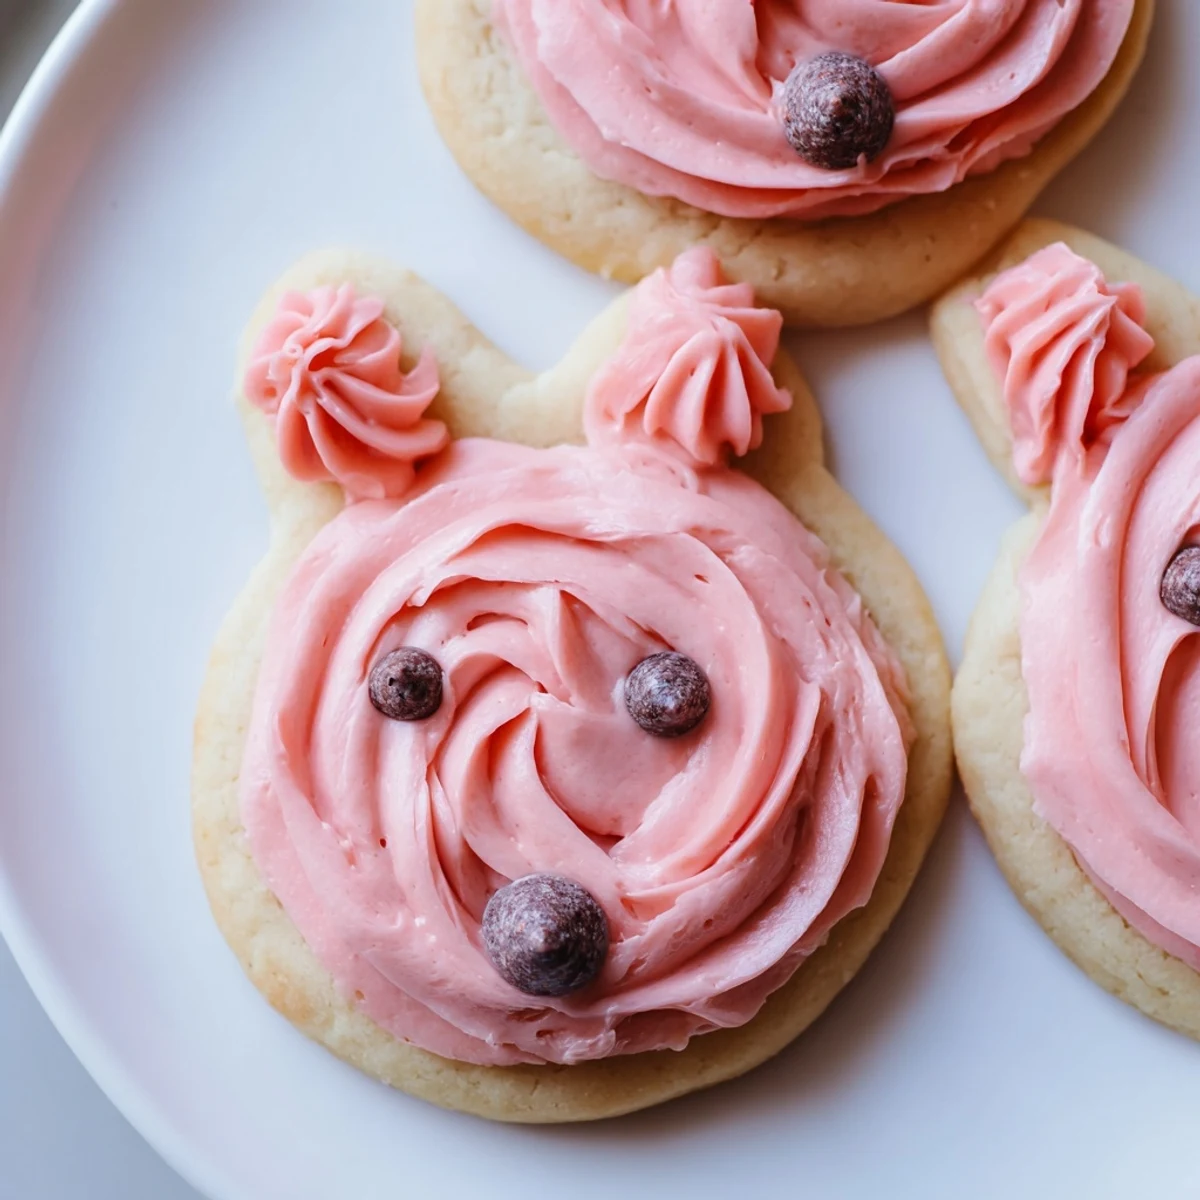
Save These charming bunny-shaped cookies feature a classic buttery sugar cookie base that's tender and perfectly sweet. The dough chills easily for clean cutting, while the silky vanilla buttercream frosting pipes beautifully onto each cooled cookie. Decorate with pastel colors for spring gatherings or keep classic white for an elegant touch.
The recipe yields two dozen cookies, making it ideal for Easter baskets, school treats, or dessert tables. Kids love helping with the decorating step—add candy eyes, chocolate chip noses, or sprinkle details to bring each bunny to life.
My niece helped me make these last spring, and she insisted every bunny needed a different personality. We spent way too long giving them distinct expressions with the candy eyes, and honestly, it was the highlight of the whole season.
First time I tried piping buttercream onto cookies, I made the mistake of frosting them while they were still slightly warm. The frosting melted right off, and my bunnies looked like they were crying. Lesson learned—patience makes prettier bunnies.
Ingredients
- 2 1/2 cups (315 g) all-purpose flour: The foundation that holds everything together, though Ive accidentally used bread flour in a pinch and they still turned out fine
- 1/2 teaspoon baking powder: Just enough lift to keep them from being too dense
- 1/4 teaspoon salt: Balances all that sweetness
- 3/4 cup (170 g) unsalted butter, softened: Truly softened—leave it out for at least an hour or youll regret it when mixing
- 1 cup (200 g) granulated sugar: Cream this properly with the butter or your texture will be off
- 1 large egg: Room temperature eggs incorporate better than cold ones straight from the fridge
- 2 teaspoons pure vanilla extract: Do not skimp here—its the backbone of the flavor
- 1 cup (226 g) unsalted butter, softened: For the frosting, this needs to be properly soft but not melting
- 3 cups (360 g) powdered sugar: Sift it first unless you enjoy eating powdered sugar lumps
- 2 tablespoons whole milk: Adjust this to get the consistency you want
- 1 1/2 teaspoons pure vanilla extract: Fresh extract makes such a difference in the frosting
- Food coloring: Gel coloring gives the most beautiful pastel shades without thinning the frosting
Instructions
- Prep your workspace and oven:
- Preheat to 350°F (175°C) and line baking sheets with parchment. This seems unnecessary until you try scraping burnt sugar off bare metal later.
- Whisk the dry ingredients together:
- Combine flour, baking powder, and salt in a medium bowl. Set this aside—youll thank yourself for not grabbing it mid-recipe.
- Cream the butter and sugar:
- Beat on medium speed for about 3 minutes until its light and fluffy. This step is worth every second.
- Add the egg and vanilla:
- Beat until combined, then scrape down the sides. Getting all that butter off the bowl matters.
- Gradually incorporate the dry ingredients:
- Mix just until the dough comes together—overworking makes tough cookies, and nobody wants that.
- Chill the dough:
- Divide into two discs, wrap in plastic, and refrigerate for at least 30 minutes. This is non-negotiable for shapes that hold their form.
- Roll and cut the bunnies:
- Roll to 1/4 inch thickness on a floured surface. Cut with your bunny cutter and place 2 inches apart on the sheets.
- Bake until barely golden:
- 8 to 10 minutes, watching closely after the 7 minute mark. Underbaked is better than overbaked here.
- Cool completely before frosting:
- Let them rest on a wire rack until room temperature. Warm cookies equal melting frosting disasters.
- Make the buttercream:
- Beat the butter until creamy, then gradually add powdered sugar, milk, and vanilla until smooth. Tint with gel coloring in small bowls.
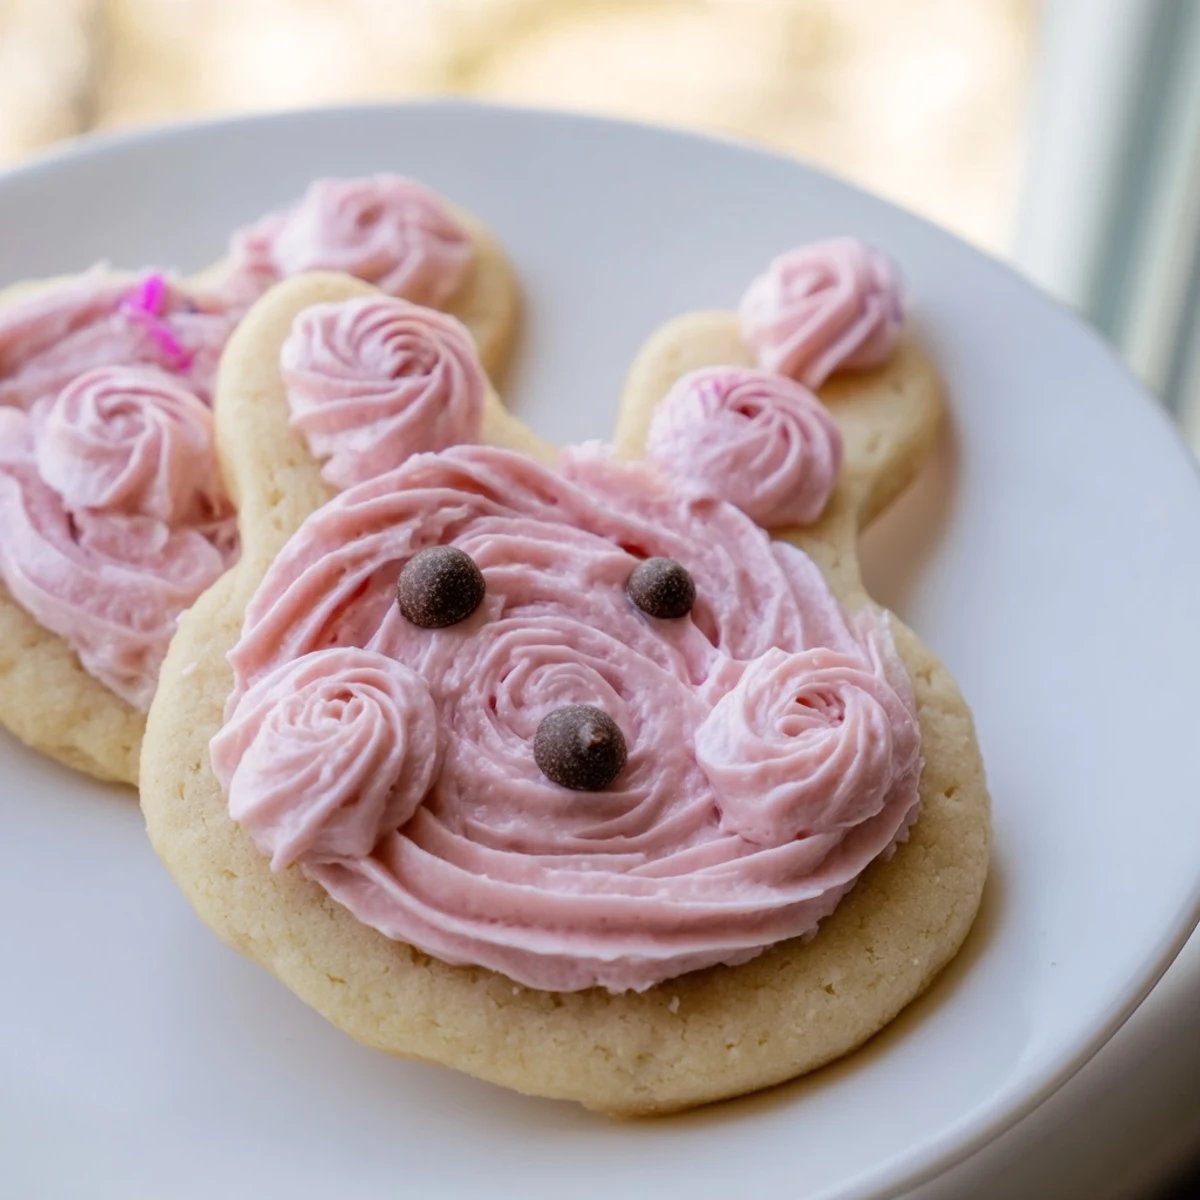
- Decorate your bunnies:
- Frost using piping bags or an offset spatula, then add candy eyes or sprinkles while the frosting is still soft.
 Save
Save My daughter took a plate of these to her spring class party, and apparently the teacher kept asking where we bought them. There is something incredibly satisfying about hearing someone assume your homemade treats came from a bakery.
Making Dough Ahead
Ive learned that making the dough the night before actually improves the texture. The flour fully hydrates, and the cookies bake up more tender. Plus, rolling out chilled dough is so much easier than working with room temperature dough that sticks to everything.
Getting The Frosting Right
Too much milk will make your buttercream slide right off the cookies. Start with less than you think you need—you can always add more, but you cannot take it back. The frosting should hold its shape when you lift the spatula.
Storage And Serving
These keep surprisingly well at room temperature for up to three days, though they never last that long in our house. If you need to store them longer, the refrigerator works for about a week, but bring them to room temperature before serving—cold buttercream is not pleasant. Use a sturdy container with parchment between layers if you are stacking them, and avoid airtight containers if the frosting is particularly soft.
- The frosted cookies freeze beautifully for up to a month
- Let frozen cookies thaw in the container to prevent condensation
- Undecorated cookies can be frozen for even longer if needed
 Save
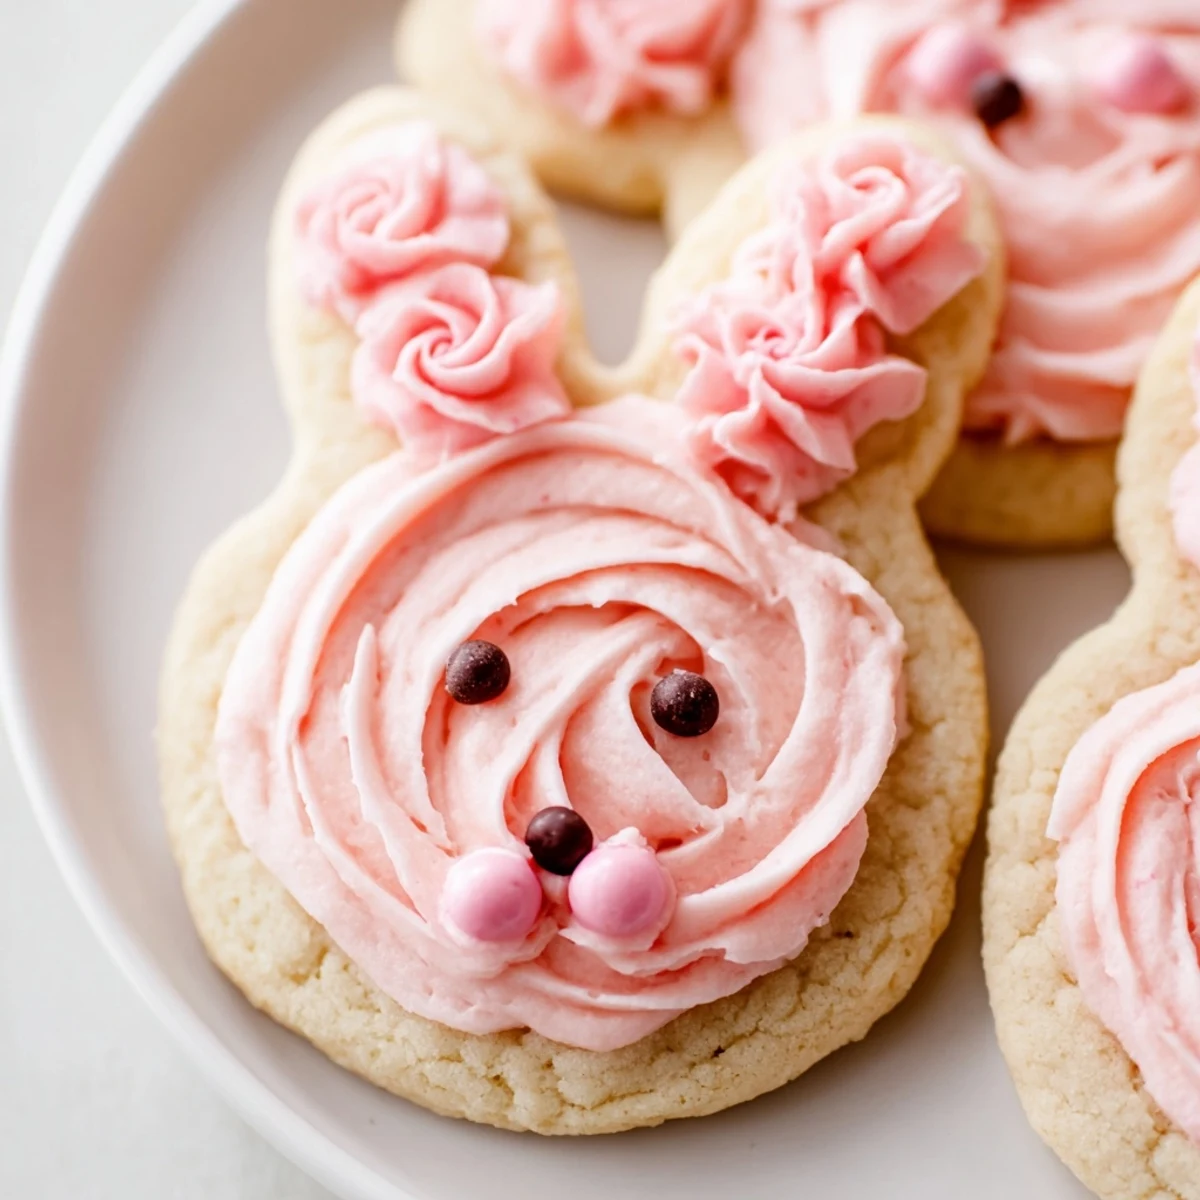
Save There is something about biting into a buttery, vanilla-scented bunny cookie that feels like pure spring happiness. Hope your kitchen gets covered in flour and sprinkles too.
Recipe FAQ
- → How far ahead can I make the cookie dough?
-
The dough can be prepared up to 24 hours in advance and stored wrapped in the refrigerator. For longer storage, freeze the dough discs for up to 3 months. Thaw overnight in the refrigerator before rolling and cutting.
- → Can I use different cookie cutter shapes?
-
Absolutely! While bunny shapes are perfect for Easter, this versatile dough works with any cookie cutter. Try chicks, eggs, or flowers for spring-themed variations. The baking time remains the same regardless of shape.
- → What's the best way to store decorated cookies?
-
Once the buttercream has fully set (about 2-4 hours), store cookies in an airtight container at room temperature for up to 3 days. For longer storage, refrigerate for up to a week, though bring to room temperature before serving for the best texture.
- → Can I make the frosting ahead of time?
-
Yes, prepare the buttercream up to 2 days in advance and store in an airtight container at room temperature. If refrigerating, let it come to room temperature and re-whip briefly before piping to restore smooth consistency.
- → Why did my cookies spread too much while baking?
-
Overly warm dough or insufficient chilling time causes spreading. Ensure dough discs chill for at least 30 minutes, and work quickly when rolling and cutting. If your kitchen is warm, chill cut shapes on the baking sheet for 10 minutes before baking.