 Save
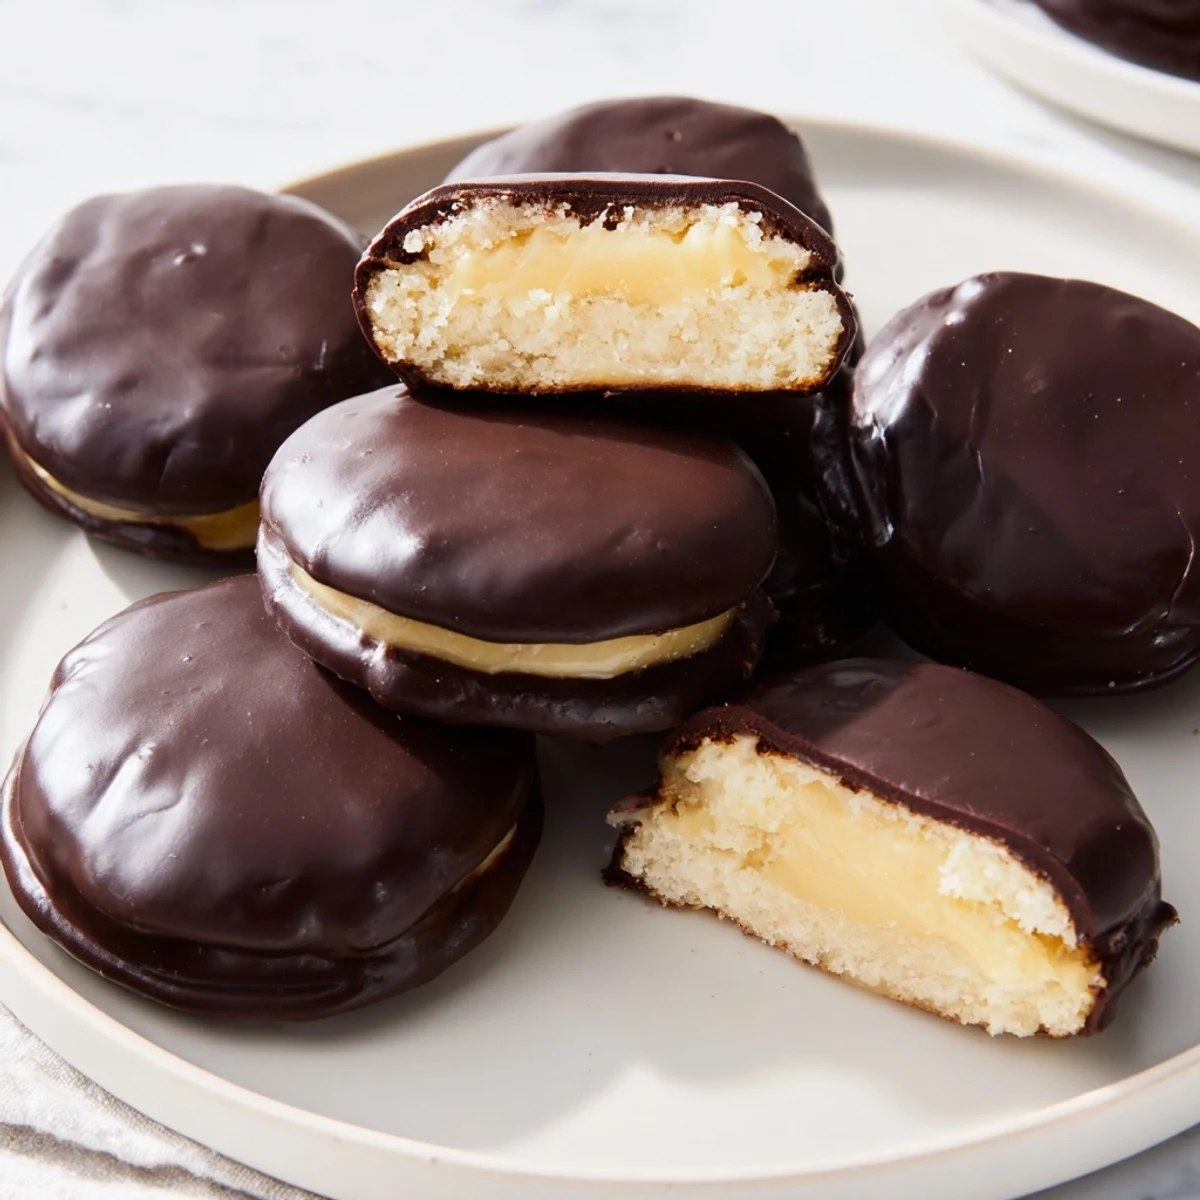
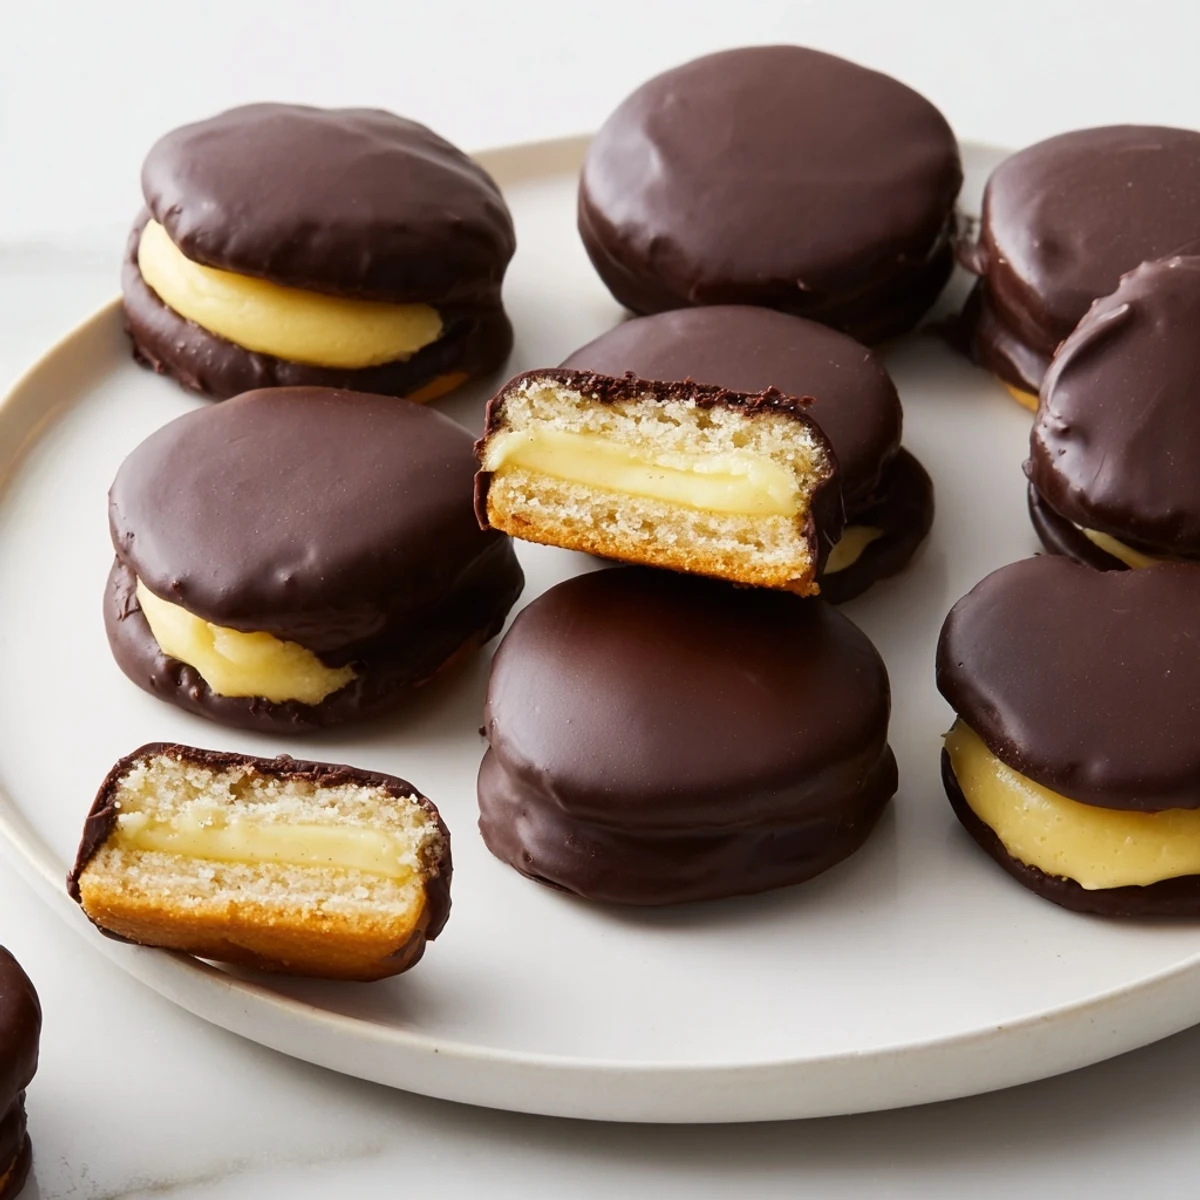
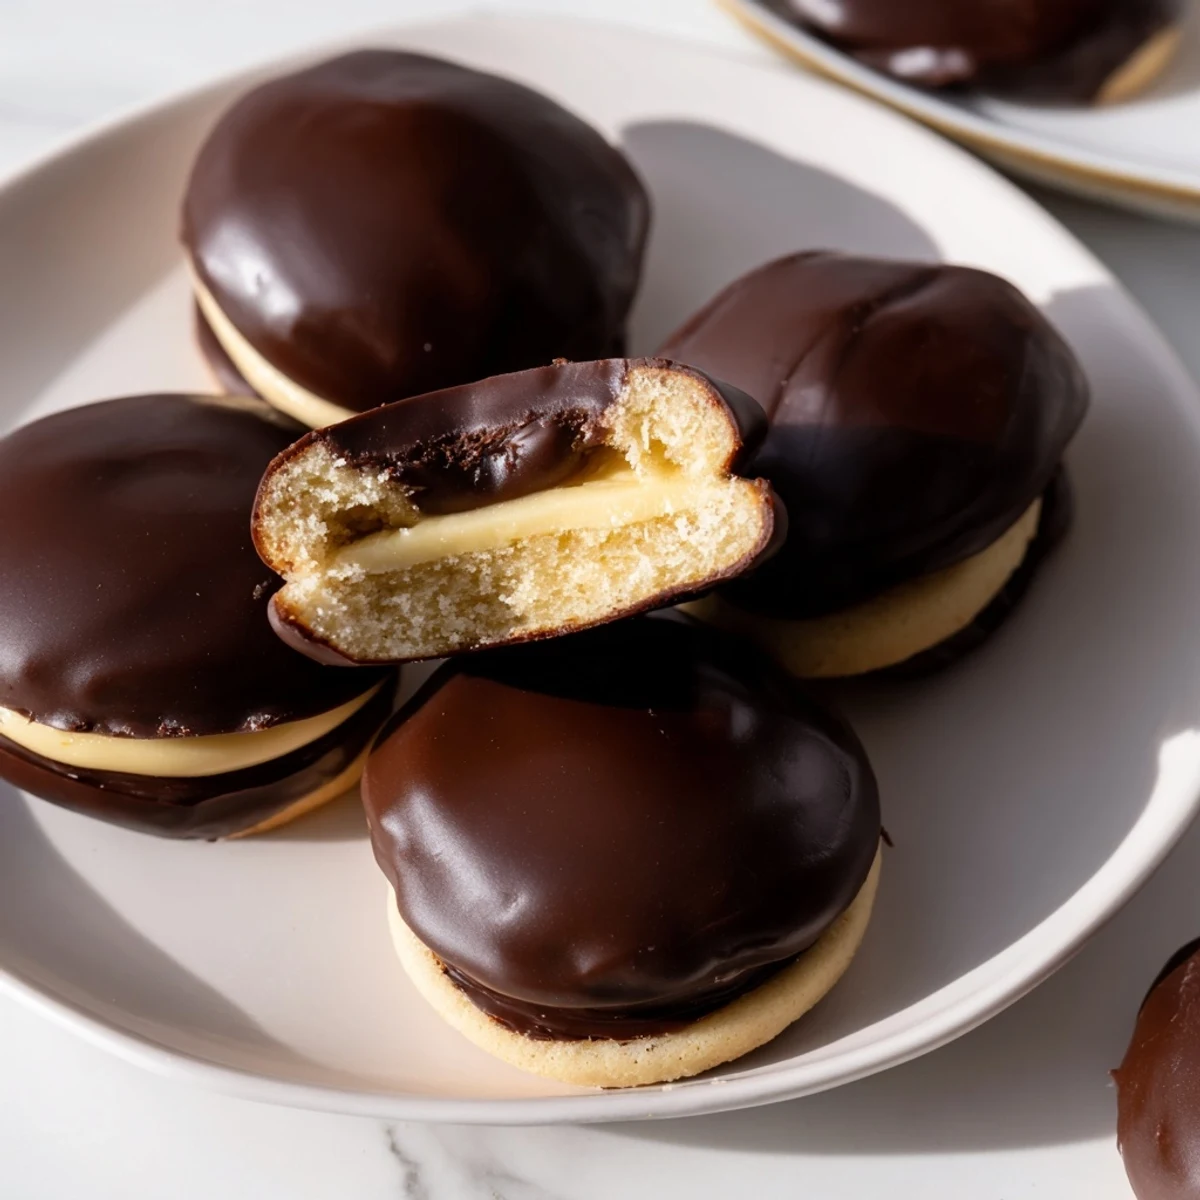
Save These delightful handheld treats combine soft vanilla cookies with silky vanilla custard filling and a glossy chocolate coating. Each bite delivers the perfect balance of textures — tender cookie, smooth cream, and rich chocolate shell. The homemade custard comes together quickly on the stovetop, while the simple cookie base bakes up golden and soft. For easier assembly, let the custard chill completely and the chocolate cool slightly before dipping.
Store finished treats in the refrigerator to keep the custard fresh and the chocolate firm. They actually improve after chilling, making them perfect for preparing ahead of time.
Last winter during a snowed-in weekend, I found myself craving something that felt like a hug in dessert form. These tiny Boston cream pie hybrids were born from that cozy impulse, and somehow they became the thing my friends now request for every gathering. There is something magical about taking a classic cake and shrinking it down into poppable perfection.
I remember serving these at my sister's baby shower last spring. My aunt took one bite, closed her eyes, and immediately asked for the recipe. Something about that combination of soft vanilla, creamy custard, and glossy chocolate just makes people pause their conversations and savor the moment.
Ingredients
- All-purpose flour: The foundation for tender cookies that hold together without getting tough
- Baking powder and baking soda: These work together to give your cookies just enough lift while keeping them soft
- Unsalted butter: Room temperature butter incorporates perfectly for that melt-in-your-mouth texture
- Granulated sugar: Sweetens the dough while creating those lovely crisp edges
- Large egg: Binds everything together and adds richness to the cookie base
- Vanilla extract: Do not skimp here since vanilla is the backbone flavor of the entire cookie
- Whole milk: Creates the silkiest custard filling you will ever taste
- Egg yolk: The secret to thick, creamy custard without using heavy cream
- Cornstarch: Thickens the custard to the perfect pipeable consistency
- Semi-sweet chocolate: Balances the sweet custard without overwhelming the delicate flavors
- Heavy cream: Makes the chocolate glaze glossy and perfectly pourable
Instructions
- Get your oven ready:
- Preheat to 350°F (175°C) and line a baking sheet with parchment paper so nothing sticks
- Mix the dry ingredients:
- Whisk together flour, baking powder, baking soda, and salt in a medium bowl
- Cream the butter and sugar:
- Beat until light and fluffy then add the egg and vanilla until everything is combined
- Combine everything:
- Gradually mix in the dry ingredients alternating with milk until a soft dough forms
- Shape your cookies:
- Scoop tablespoon portions, roll into balls, and flatten slightly on the baking sheet
- Bake to perfection:
- Bake for 10 to 12 minutes until edges are lightly golden then cool completely
- Make the custard:
- Whisk all custard ingredients in a saucepan over medium heat until thickened about 3 to 4 minutes
- Chill the filling:
- Cover with plastic wrap touching the surface and refrigerate until completely set
- Prepare the glaze:
- Microwave chocolate, cream, and butter in 20-second bursts until smooth and glossy
- Assemble the bites:
- Spoon custard onto half the cookies, top with remaining cookies, then drizzle with chocolate glaze
 Save
Save These became my go-to dessert after I brought them to a potluck and someone actually asked if there were any left to take home. Watching people reach for seconds before even finishing their first one pretty much sealed the deal for me.
Making Them Ahead
You can bake the cookies up to two days in advance and store them in an airtight container. The custard also keeps beautifully in the fridge for 24 hours before you need to assemble everything.
Customizing the Filling
Sometimes I fold a teaspoon of instant espresso powder into the custard for a mocha variation. A splash of dark rum or coffee liqueur also transforms these into an adults-only dessert that feels surprisingly elegant.
Serving Suggestions
These are perfect on their own but a dusting of powdered sugar right before serving adds a lovely finishing touch. Arrange them on a vintage cake stand or tiered platter for parties since they disappear quickly when displayed beautifully.
- Let the chocolate set completely before stacking or storing
- These are best served the same day but will keep in the fridge for two days
- Bring them to room temperature for about 15 minutes before serving for the best texture
 Save
Save There is something so satisfying about making a classic dessert entirely your own. Hope these little bites bring as much joy to your kitchen as they have to mine.
Recipe FAQ
- → Can I make the custard ahead of time?
-
Yes, prepare the custard up to 24 hours in advance and store it covered in the refrigerator. The plastic wrap should touch the surface to prevent a skin from forming. Let it soften slightly at room temperature before piping for easier spreading.
- → What's the best way to melt the chocolate for the glaze?
-
Microwave in 20-second intervals, stirring between each burst. This prevents scorching and ensures smooth, glossy results. Alternatively, use a double boiler on the stovetop, stirring constantly until melted and combined.
- → Can I freeze these assembled cookie bites?
-
Freezing isn't recommended as the custard texture can become grainy and the chocolate may bloom or crack upon thawing. For best results, store assembled treats in the refrigerator for up to 3 days and enjoy fresh.
- → How do I know when the cookies are done baking?
-
The cookies are ready when edges are lightly golden and centers appear set but still soft. They will continue cooking slightly on the hot baking sheet, so remove them before they look fully done. Overbaking leads to hard cookies that crack when filled.
- → Can I substitute the heavy cream in the chocolate glaze?
-
Yes, coconut cream works well for a dairy-free version. The texture will be slightly thicker, so add a teaspoon of coconut oil to reach the right consistency. The chocolate flavor will also have subtle coconut notes.
- → Why did my custard turn out lumpy?
-
Lumps usually form from heat being too high or not whisking constantly. Cook over medium heat and whisk continuously until thickened. If lumps do appear, press the custard through a fine-mesh sieve before chilling for smooth results.